
Did you know that signs with improper placement or sizing can lower visibility by up to 70 percent? The spot you choose and every measurement you take matter more than most people realise. Whether planning a safety notice or a business display, attention to these early steps helps prevent wasted time and costly do-overs. Discover how a few simple tools and careful preparation set the stage for signs that get seen and understood.
| Key Point | Explanation |
|---|---|
| 1. Clear the Measurement Area | Remove obstacles for accurate measurements; ensure unobstructed sightlines for your sign. |
| 2. Use the Right Measurement Tools | Essential tools include a metal tape, level, and notepad for precision in recordings. |
| 3. Evaluate Sign Placement Carefully | Assess visibility from different angles; consider traffic patterns and lighting conditions. |
| 4. Take Multiple Precise Measurements | Measure dimensions from various points to ensure accuracy and account for irregular surfaces. |
| 5. Verify Placement Suitability Thoroughly | Check sign readability at different distances; be open to repositioning for optimal effectiveness. |
Table of Contents
- Step 1: Prepare The Area And Tools
- Step 2: Identify The Exact Sign Location
- Step 3: Take Precise Measurements
- Step 4: Double-Check And Record Dimensions
- Step 5: Verify Placement Suitability
Table of Contents
Step 1: Prepare the Area and Tools
Before diving into measuring for signs, you will need to set up a solid preparation foundation. This stage is about understanding your environment and gathering the right tools to ensure accurate measurements.
Start by clearing the area where you plan to install or measure your sign. Remove any obstructions that might interfere with your measurements like furniture, plants, or hanging decor. Your first crucial task is defining the longest viewing distance and understanding the specific conditions like potential glare, lighting complexity, and content type.
Your measurement toolkit should include some essential items: a sturdy metal measuring tape (not a fabric tape which can stretch), a level to ensure straight horizontal and vertical lines, pencil and notepad for recording dimensions, and possibly a laser distance measurer for more precise readings. Wear comfortable clothing that allows you to move freely and bend without restriction.
Here is a comparison of essential sign measurement tools and their purposes:
| Tool | Purpose |
|---|---|
| Metal measuring tape | Accurate width and height measurements |
| Level | Ensuring straight lines and alignment |
| Pencil and notepad | Recording dimensions and observations |
| Laser distance measurer | Precise long-distance readings |
| Comfortable clothing | Freedom of movement during measuring |
Pro Tip: Always measure twice and record carefully to avoid costly mistakes.
Pay special attention to factors like mounting height, potential traffic speed near the sign location, and local regulatory requirements that might impact your sign sizing. Working with experienced signage companies London at the preparation stage means you benefit from professional surveyors who identify potential complications before any production work begins.
In the next step, you will learn how to take precise measurements using these tools and insights. Your preparation now sets the stage for accurate sign sizing that ensures maximum visibility and effectiveness.
Step 2: Identify the Exact Sign Location
With your tools ready and the area prepared, now comes the critical task of pinpointing the perfect spot for your sign. This step is about understanding how placement impacts visibility and effectiveness.
Carefully assess the physical environment where your sign will live. Walk around the space and consider multiple perspectives. The orientation of your sign relative to traffic flow dramatically affects its readability. Signs positioned parallel to traffic might require up to 70% larger sizing to ensure clear communication.
Look for locations with unobstructed sightlines. Consider factors like potential visual barriers such as trees, other signs, architectural features or street furniture that could block or compete with your sign. Your goal is finding a spot that offers maximum exposure without creating visual clutter.
Pro Tip: Stand at different distances and angles to test how visible your proposed location will be for potential viewers.
Pay attention to lighting conditions throughout different times of day. A location that seems perfect in morning sunlight might create challenging glare or shadows in afternoon hours. Consider how natural and artificial light will interact with your sign surface and potentially impact readability.
Think strategically about traffic speed and viewing time. Locations near slower moving traffic or pedestrian areas allow more reading time compared to fast moving roadways where viewers have limited seconds to absorb information.
Shop signs London installations benefit particularly from this step, as the ideal position for a fascia sign differs significantly depending on whether the primary audience is passing pedestrians, approaching vehicle traffic, or cross-street visibility.
In the next step, you will precisely measure the selected location and confirm its suitability for your specific signage needs.
Step 3: Take Precise Measurements
Now that you have identified the perfect location for your sign, it is time to capture precise measurements that will guide your design and installation process. This step transforms your vision into concrete dimensions.
Calculating sign dimensions requires understanding a critical distance factor formula. The formula H = L ÷ Z helps determine the minimum sign or symbol height based on viewing distance and illumination context. For ambient lit signs, the Z value is approximately 100, while internally lit signs use a Z value around 200.
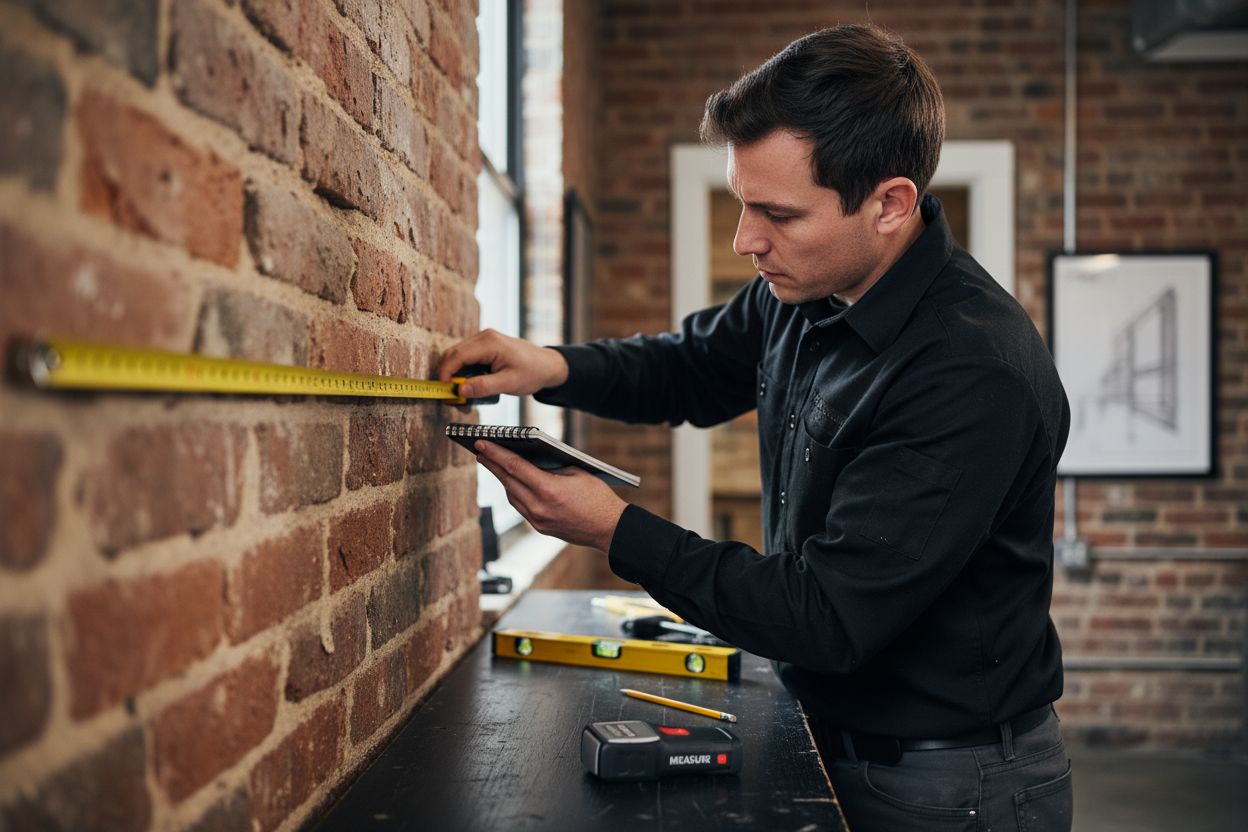
Start by measuring the total available space where your sign will be mounted. Use your metal measuring tape and ensure you measure both width and height. Take readings from multiple points to account for any slight irregularities in the surface. Record these measurements precisely in your notebook.
A general rule of thumb: letter height should be about 1 inch per 10 feet of viewing distance. This means if viewers will typically see your sign from 30 feet away, your lettering should be approximately 3 inches tall.
Pro Tip: Always include a small buffer in your measurements to allow for potential mounting hardware or unexpected architectural details.
Factor in the speed of traffic or movement near your sign. Faster moving viewers will need larger text and signs to ensure readability. For pedestrian areas, you can use slightly smaller dimensions compared to roadside locations with high speed traffic.
Sign Company projects are particularly sensitive to measurement accuracy — even a few centimetres of discrepancy can affect how a graphic aligns across a building facade or hoarding panel, so double-checking dimensions before artwork is sized for production is essential.
In the next step, you will translate these precise measurements into a design that maximises visibility and impact for your specific environment.
Step 4: Double-Check and Record Dimensions
With initial measurements complete, it is crucial to verify every detail before moving forward. This step ensures accuracy and prevents potentially costly mistakes in your sign preparation process.
Take a systematic approach to reviewing your measurements. Pull out your notebook and carefully review each recorded dimension. Verify width and height measurements multiple times using different techniques. Use your metal measuring tape from multiple angles and consider using a laser distance measurer as a cross reference to confirm your initial readings.
Create a clear dimensional record that includes not just the measurements themselves but contextual information. Document the specific location where measurements were taken, time of day, any environmental conditions that might have impacted your readings. Add sketches or photographs to provide additional context and visual reference.
Pro Tip: Use consistent units of measurement throughout your documentation to avoid potential conversion errors later.
Pay special attention to potential variances in surface flatness or mounting area. If you notice any subtle irregularities or potential challenges during this review process, make detailed notes. These observations could become critical during the actual sign installation phase.
Custom signs London projects that involve bespoke shapes, irregular mounting positions, or dimensional lettering particularly benefit from this documentation stage, as installers rely on accurate site measurements to fabricate components that fit precisely first time.
Consider photographing the measurement area and your documented dimensions. Digital backup provides an additional layer of verification and can be useful if you need to consult with designers or installers later in the process.
In the next step, you will translate these carefully verified measurements into a design blueprint that transforms your precise data into an impactful sign solution.
Step 5: Verify Placement Suitability
With measurements captured and documented, now comes the critical moment of confirming whether your chosen location truly meets all necessary visibility and effectiveness requirements. This stage is about ensuring your sign will communicate effectively under real world conditions.
Your placement must guarantee the sign is detectable, conspicuous, legible and comprehensible. This means stepping back and critically evaluating the location from multiple perspectives and potential viewer angles.
Simulate different scenarios by walking various approach paths. Stand where potential viewers would typically be positioned and assess how easily the sign can be seen. Consider the time viewers will have to read and understand your message. Are there any visual distractions or competing elements that might reduce the sign’s impact?
Pro Tip: Photograph your proposed location at different times of day to understand how lighting and shadows might affect visibility.
Evaluate the sign’s performance from multiple distances. A sign that looks perfect up close might become illegible from further away. Check readability from both pedestrian and vehicular perspectives, paying special attention to traffic speed and typical viewing windows.
Foamex signs printing London panels used as temporary placement mock-ups are a practical and cost-effective technique for testing a proposed sign position before committing to permanent fabrication — a method that professional signage teams routinely recommend for complex or high-value installations.
Be prepared to make adjustments. If your initial location does not meet all visibility criteria, consider slight repositioning or alternative mounting strategies. Sometimes moving a sign just a few centimetres can dramatically improve its effectiveness and communication potential.
Ready for Absolute Accuracy? Let the Experts Handle Your Sign Sizing
You have just learned how demanding it can be to measure for signs. Getting that perfect fit is not as easy as it sounds. If any detail is missed, costly mistakes, poor visibility or unprofessional results can follow. There is so much at stake when it comes to ensuring your sign performs its best.
Do not risk your investment with guesswork. Our team at PromoSigns have helped hundreds of businesses across London, Essex and Kent avoid incorrect sizing, illegible lettering and poor placement. We use exactly the careful measuring, environmental checking and best practices outlined in this guide. Plus, we manage everything from concept to installation, so you can enjoy complete peace of mind.
Why struggle with the stress of getting your sign right when you can get it right first time? Visit our website now to see how our bespoke sign solutions can save you time and money. Take the hassle out of measurement, design and installation. Contact our experts today and ensure your next sign delivers maximum impact and clarity.
Frequently Asked Questions
How do I choose the right location for my sign?
To choose the right location, assess the physical environment and walk around to test various angles. Look for unobstructed sightlines and consider visual barriers, ensuring maximum visibility for potential viewers.
What tools do I need for measuring sign dimensions?
You will need a metal measuring tape, a level, a pencil and notepad, and possibly a laser distance measurer. Gather these tools before starting the measurement process to ensure accuracy.
How can I ensure my sign is readable from a distance?
To ensure readability, follow the guideline of having letter height of 1 inch for every 10 feet of viewing distance. For example, if your sign will be seen from 30 feet away, make your letters about 3 inches tall.
What should I do if my measurements are not accurate?
If your measurements are not accurate, double-check them using different techniques and tools. Measure from multiple angles, using both the metal measuring tape and laser distance measurer for confirmation.
Why is it important to verify placement suitability?
Verifying placement suitability ensures that your sign is detectable and legible under real-world conditions. Walk up to the proposed location from various angles to assess visibility and make adjustments if necessary.
How do I record my measurements effectively?
To record your measurements effectively, take notes in a systematic manner, including specific dimensions and any contextual information. Consider including photographs or sketches of the area for additional reference.
Recommended
- Signage Size Guidelines 2025: The Essential Guide for London Businesses – PromoSigns.co.uk
- How to Install Wall Signs for Your Business Effectively – PromoSigns.co.uk
- Graphic Design Tips for Signage: 2025 Guide for London Businesses – PromoSigns.co.uk
- Top Storefront Sign Visibility Tips for London Businesses 2025 – PromoSigns.co.uk
- Projector Screen Size Guide 2025: Perfect Fit for Malaysian Needs – Projector Display
- Complete Guide to Exterior Signage Basics –
