
Table of Contents
How to Light Your Outdoor Sign for Maximum Night-Time Impact
Most british illuminated signs lose up to 25 percent of their brightness due to neglected maintenance. For shop owners and property developers across London, Essex, and Kent, poor visibility can mean missed opportunities and higher costs. Knowing how to properly care for illuminated signage helps your business stand out, saves money, and ensures long lasting performance. This guide offers practical steps for safeguarding both your investment and customer appeal.
Step 1: Prepare and Safely Isolate Power Supply
Before conducting any maintenance on illuminated signage, you must safely disconnect the electrical supply to prevent potential accidents. This crucial step protects both you and your equipment from electrical hazards while ensuring a secure work environment.
To properly isolate the power supply, start by locating the main electrical circuit breaker or dedicated isolator switch for your illuminated sign. Carefully switch off the power and use a lockable safety device to prevent accidental reconnection. Electrical safety regulations require qualified personnel to follow strict isolation protocols to minimise risk.This step is essential for permanently installed illuminated shop signs in commercial premises.
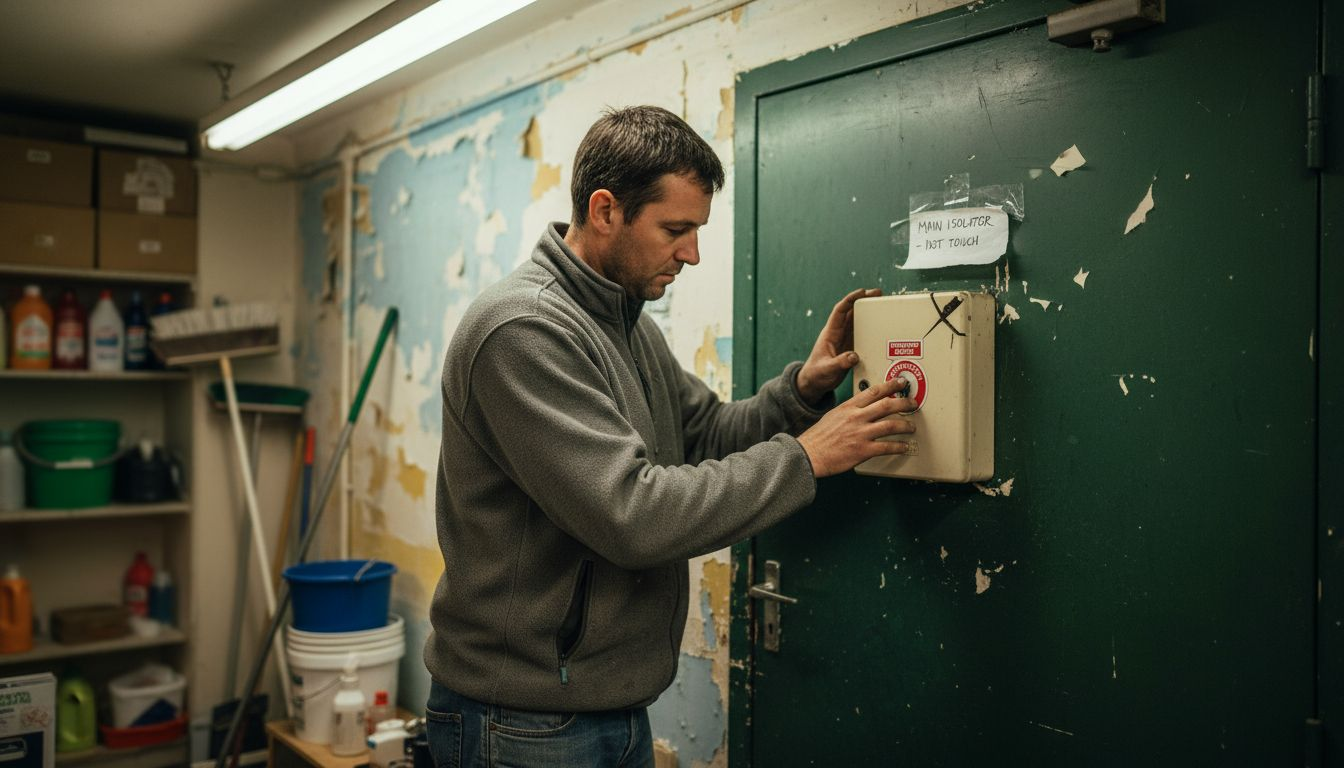
After switching off the power, always test the circuit using a verified voltage detector to confirm no electrical current is present. This additional verification step provides an extra layer of protection before beginning any maintenance work. Place a clear warning tag or sign near the isolation point to alert other workers that maintenance is in progress and the circuit should not be re-energised.
Expert Tip: Always carry a battery-powered voltage detector and wear appropriate personal protective equipment when working with electrical systems.
Step 2: Inspect and Clean Signage Surfaces and Casings
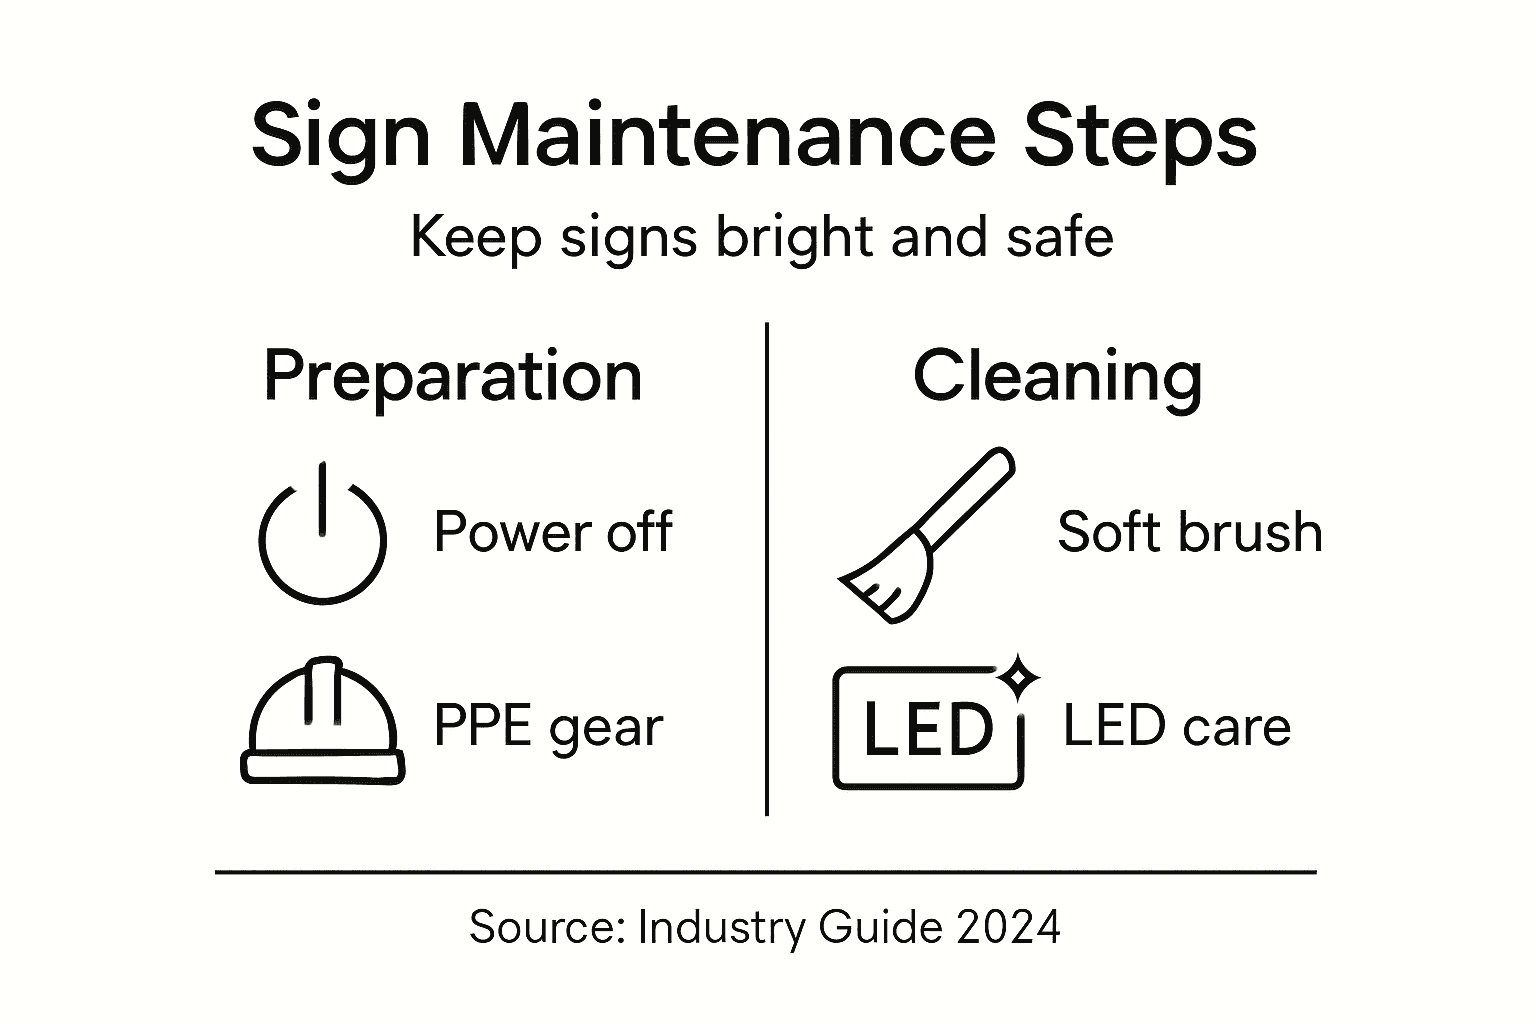
Proper inspection and cleaning of illuminated signage surfaces are fundamental to maintaining their visual impact and operational efficiency. Your goal in this step is to systematically examine and refresh the external appearance of your sign while ensuring all components remain in optimal condition.
Begin with a comprehensive visual inspection of the sign’s surfaces and casings. Look for signs of dirt accumulation, potential damage, moisture intrusion, or discolouration. Professional maintenance guidelines recommend checking for any loose components, cracks, or areas where dirt might compromise the sign’s performance. Use a soft microfibre cloth and specialised cleaning solution appropriate for the signage material whether that’s aluminium, acrylic, or painted surfaces. Work methodically from top to bottom, using gentle circular motions to remove dust and grime without scratching delicate surfaces.
Pay special attention to the illumination areas and electrical components. Carefully clean around LED modules and connection points without disturbing any wiring or electrical connections. Ensure that ventilation areas remain unobstructed to prevent overheating and maintain optimal performance. Take photographs during your inspection to document the sign’s condition and track any changes over time.
Expert Tip: Invest in a soft bristled brush with an extendable handle to reach difficult areas and clean sign surfaces without using harsh chemicals or risking personal injury.
Step 3: Check and Replace Faulty Bulbs or LEDs
Maintaining the luminosity of your illuminated sign requires systematic checking and prompt replacement of any faulty lighting components. This crucial step ensures your sign remains bright, visible, and professionally presented to potential customers.
Begin by carefully examining each individual bulb or LED module for signs of dimming, flickering, or complete failure. LED lighting maintenance involves understanding the specific compatibility of replacement units with your existing fixtures. Use a voltage tester to confirm the electrical specifications and ensure you select exactly matching replacement components. When removing old bulbs, wear insulated gloves and work with gentle pressure to prevent damaging the delicate electrical connections or surrounding mounting points.
Properly dispose of replaced bulbs according to environmental regulations. Some lighting components contain materials that require specialised recycling processes. Take care to match new bulbs precisely to the original specifications including wattage, base type, colour temperature, and voltage. After replacement, conduct a comprehensive test to verify the new bulbs illuminate correctly and integrate seamlessly with the existing sign system.
Here is an overview of common illuminated sign problems and their typical underlying causes:
| Issue Observed | Potential Cause | Recommended First Action |
|---|---|---|
| Dimming or flickering | Ageing LEDs, loose connections | Inspect components and retighten |
| Uneven illumination | Faulty bulb, blocked vent | Clean and check bulbs |
| Moisture inside casing | Seal failure | Inspect seals and reseal |
| Rapid bulb failures | Voltage irregularities | Test supply and replace driver |
Expert Tip: Keep a standardised log of all bulb replacements including date, type, and manufacturer to track long term performance and maintenance patterns.
Step 4: Examine and Test Electrical Components
Careful examination of electrical components is critical to ensuring the safe and reliable operation of your illuminated signage. This stage requires methodical assessment of all electrical systems to prevent potential failures and maintain optimal performance.
Electrical safety standards mandate comprehensive testing of all electrical connections, transformers, and control mechanisms. Begin by visually inspecting wiring for any signs of wear, fraying, or potential damage. Use a professional multimeter to check voltage continuity, resistance levels, and potential short circuits. Pay special attention to connection points, looking for any signs of corrosion, looseness, or unexpected heat discolouration. Carefully examine each electrical component ensuring that protective insulation remains intact and there are no exposed wiring areas that could compromise safety.
When testing, systematically work through each electrical section of the sign. Check transformers for proper voltage output, test control gear functionality, and verify that all protective devices are operating correctly. Document your findings meticulously, noting the condition of each component, any measurements taken, and recommendations for potential replacements. If you encounter any complex electrical issues or are uncertain about a particular component, consult a qualified electrician who specialises in commercial signage electrical systems.
Expert Tip: Invest in a digital thermal imaging camera to detect hidden electrical hotspots that might indicate potential failure points before they become critical.
The following table summarises useful equipment for safe and effective illuminated signage maintenance:
| Tool or Equipment | Purpose | Maintenance Benefit |
|---|---|---|
| Battery voltage detector | Confirms absence of electrical current | Prevents accidental electric shock |
| Soft bristled brush | Reaches narrow or awkward surfaces | Enables thorough cleaning |
| Digital multimeter | Measures voltage and continuity | Identifies electrical faults |
| Thermal imaging camera | Detects hidden electrical hotspots | Prevents component overheating |
| Lockable isolator device | Prevents accidental power reconnection | Ensures continued safety |
Step 5: Verify Overall Operation and Safety Standards
The final stage of maintaining illuminated signage involves a comprehensive assessment of performance, safety, and regulatory compliance. This crucial verification ensures that your sign not only looks professional but meets all required safety standards and operational expectations.
Safety sign regulations require a systematic approach to final checks. Begin by activating the sign and observing its entire operational cycle. Assess the uniformity of illumination, checking for any uneven lighting, flickering, or areas of diminished brightness. Verify that all control mechanisms function correctly, including dimming systems, timers, and light sensors. Pay close attention to the sign’s visibility from different angles and distances, ensuring it provides clear and consistent communication as intended.
Document your verification process meticulously. Create a comprehensive checklist that covers electrical safety, structural integrity, illumination quality, and compliance with local planning and safety regulations. Take photographs or video recordings that demonstrate the sign’s full operational capabilities. Compare your current assessment against previous maintenance records to identify any progressive changes or potential emerging issues. If any discrepancies or concerns arise during this final verification, schedule immediate professional inspection or necessary repairs to maintain the sign’s optimal performance and safety standards.
Expert Tip: Create a digital maintenance log with timestamped photographs and performance measurements to track your sign’s condition over time and demonstrate proactive management.
Keep Your Illuminated Signs Bright and Reliable with Professional Support
Maintaining illuminated signs involves careful steps such as safe power isolation, cleaning delicate surfaces, checking bulbs and LEDs, and thorough electrical testing to ensure lasting brilliance and safety. These tasks can often feel complex and time-consuming, especially when striving to achieve consistent visibility and meet strict safety standards. If you want to avoid flickering lights, dimming displays, or unexpected faults, expert help is essential.
Discover how Promo Signs can take the worry out of your illuminated signage maintenance. We provide bespoke design, manufacture, and professional installation services for high-quality LED Fascia signs tailored to your needs across London, Essex, and Kent. Partner with us to enjoy:
- Durable signage built to withstand the elements and stay vibrant
- Expert advice on compliance with electrical safety and visibility standards
- Fast turnaround times and meticulous attention to detail
Don’t let your illuminated signage lose its impact over time. Visit our official website today to learn more about our illuminated signs solutions. Contact us now and ensure your business shines with confidence and professionalism.
Frequently Asked Questions
How do I safely isolate the power supply for illuminated signs?
To safely isolate the power supply of illuminated signs, locate the main electrical circuit breaker or dedicated isolator switch and turn it off. Use a lockable safety device to prevent accidental reconnection, and test the circuit with a voltage detector to ensure no electrical current is present before starting any maintenance work.
What are the best practices for cleaning illuminated sign surfaces?
The best practices for cleaning illuminated sign surfaces include using a soft microfibre cloth and a cleaning solution suitable for the material of the sign. Perform a thorough inspection, working from top to bottom using gentle circular motions to avoid scratches and ensure optimal performance.
How can I identify and replace faulty bulbs or LEDs in my sign?
To identify faulty bulbs or LEDs, check each component for signs of dimming, flickering, or failure. Replace any faulty units with identical components, ensuring they match the original specifications. Conduct a test afterwards to confirm that the new bulbs illuminate correctly.
What electrical components should I examine during maintenance?
During maintenance, examine all electrical connections, transformers, and control mechanisms for signs of damage or wear. Use a multimeter to check voltage continuity and resistance levels, and document any findings and recommendations for replacements.
How do I ensure my illuminated sign complies with safety standards?
To ensure compliance with safety standards, perform a comprehensive assessment of the sign’s operation, checking illumination uniformity, functionality of control mechanisms, and visibility from various angles. Document all findings systematically and address any discrepancies immediately to maintain safety and performance.
Recommended
- What Are the Advantages of Illuminated Signage?
- Illuminated Shop Sign Benefits for London Businesses 2025 – PromoSigns.co.uk
- Illuminated Signs Explained: A 2025 Guide for London Businesses – PromoSigns.co.uk
- Smart Guide to Servicing Illuminated Signs in London – PromoSigns.co.uk
- sign-dark
