
Every mistake in signage placement can lead to wasted time and costly do-overs. Over 60 percent of failed signage projects can be traced back to errors during site assessment and measurement. Thorough preparation at the start is what separates a smooth installation from a frustrating setback. By gathering the right tools and collecting the most important site details before you measure, you can avoid common pitfalls and set your signage project on the right path from day one.
Table of Contents
Quick Summary
| Key Point | Explanation |
|---|---|
| 1. Gather essential tools first | Before measuring, collect a professional tape measure, clipboard, camera, notepad, and laser measuring device for accurate assessments. |
| 2. Conduct a thorough obstacle assessment | Evaluate the installation area for potential interference, such as windows, doors, or structural features that may affect signage placement. |
| 3. Measure precisely with multiple tools | Take measurements in several ways, cross-referencing with different tools to ensure accuracy. Mistakes can lead to costly errors. |
| 4. Document dimensions strategically | Record all dimensions and potential obstructions in a systematic way, using sketches or digital documents to visualize the installation area. |
| 5. Verify measurements before final decisions | Double-check your measurements multiple times and create physical mock-ups to anticipate any issues before the final installation. |
Step 1: Gather Essential Tools and Site Information
Before you measure for signage, you need solid preparation. Surveying a location is critical for successful implementation. This means gathering the right tools and understanding your specific space before taking a single measurement.
Your essential toolkit will include a few key items: a professional tape measure (preferably 25 feet long), a sturdy clipboard, pencil, digital camera or smartphone, notepad, and a laser measuring device if possible. You will want to capture detailed information about the installation area including precise wall measurements, surface textures, potential obstructions, and available mounting points. Take multiple photographs from different angles to reference later.
Pro tip: Always measure twice and record your findings immediately. Nothing derails a LED Signs project faster than incorrect measurements or lost documentation. As you survey the space, consider not just the physical dimensions but also lighting conditions, viewing angles, and potential visual impact. Your thorough preparation now will save significant time and potential rework during the actual installation process.
Ready to move forward? Your next step will involve translating these gathered measurements and site details into a precise installation plan.
Step 2: Assess the Installation Area and Identify Obstacles
Now that you have gathered your tools and initial site measurements, it is time to carefully evaluate the specific area where your signage will be installed. Local environmental elements dictate the best location and materials for your sign, ensuring maximum durability and visibility.
Start by conducting a comprehensive obstacle assessment. Look for potential interference points such as electrical conduits, nearby windows or doors, air conditioning units, uneven wall surfaces, or architectural features that might impact mounting. Check ceiling height, wall material strength, and proximity to other visual elements. Pay special attention to structural integrity and load bearing capacity of the surface where you plan to install the signage.
Pro tip: Create a detailed sketch or digital mockup of the installation area. Note down all potential obstacles and measurements with precise annotations. This visual reference will help you anticipate potential challenges and develop strategic solutions before actual installation begins.
Consider factors like natural lighting, viewer sight lines, and potential future renovations that might affect your signage placement. Working with experienced signage companies London at this stage ensures your obstacle assessment covers every technical requirement from the outset.
With your comprehensive obstacle assessment complete, you are now prepared to move forward with selecting the most appropriate mounting method and sign specifications for your specific environment.
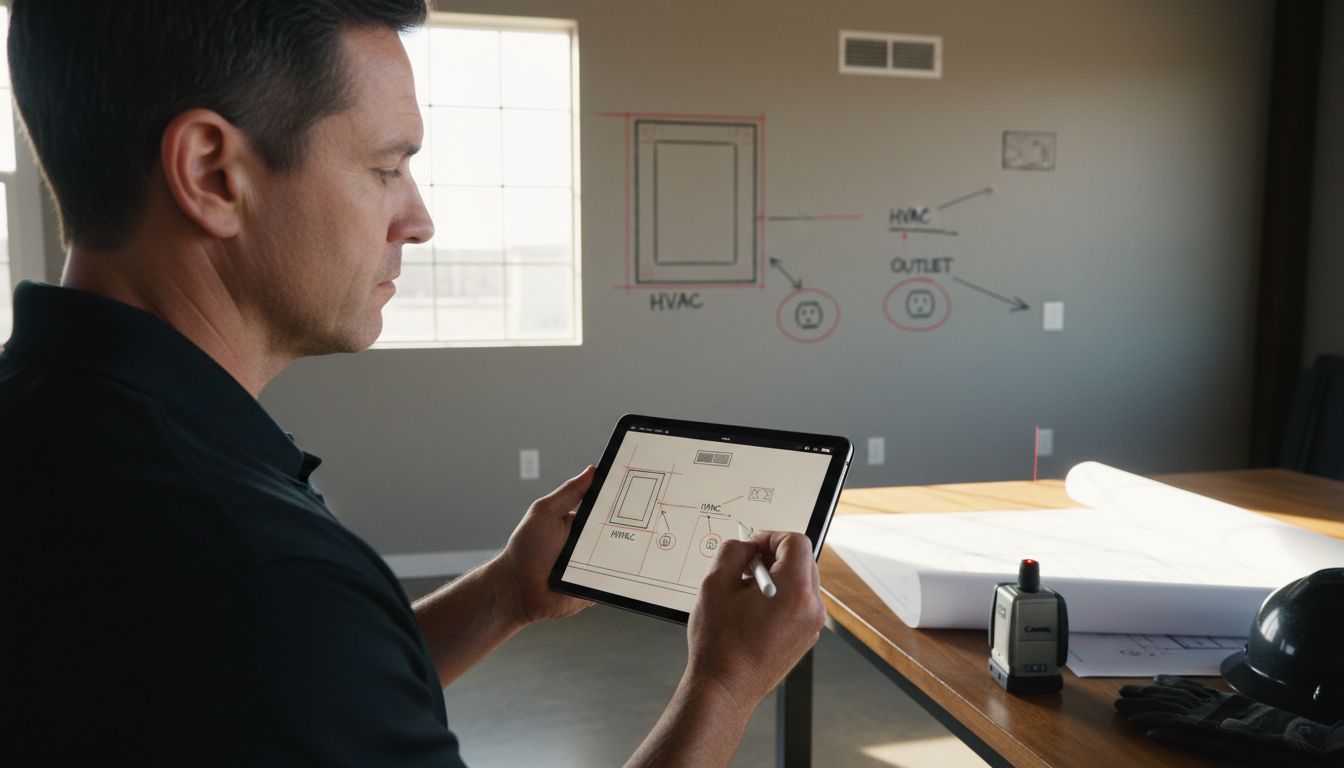
Step 3: Take Precise Measurements for Your Signage
With your site assessment complete, it is time to capture precise measurements that will ensure your signage fits perfectly. A smart strategy before finalising your order is to place a cardboard panel in the proposed location to verify both size and placement.
Begin by measuring the width and height of your intended installation area with your professional tape measure. Measure horizontally and vertically at multiple points to account for any subtle variations in wall or surface dimensions. Take measurements from the floor to ceiling, noting any architectural features like baseboards, crown moulding, or uneven surfaces that might impact your signage positioning. Use your digital camera to document each measurement, ensuring you have a visual record alongside your numerical data.
Pro tip: Always measure twice and cross reference your findings. A difference of even a few millimetres can significantly impact how your custom signs London installation looks and fits. When working with complex spaces, consider creating a scale drawing or digital mockup to visualise the final placement before making any permanent installations. Your meticulous approach now will prevent costly mistakes and ensure a professional looking result.
With your precise measurements captured, you are now ready to move forward to the next critical stage of selecting the appropriate sign design and mounting method.
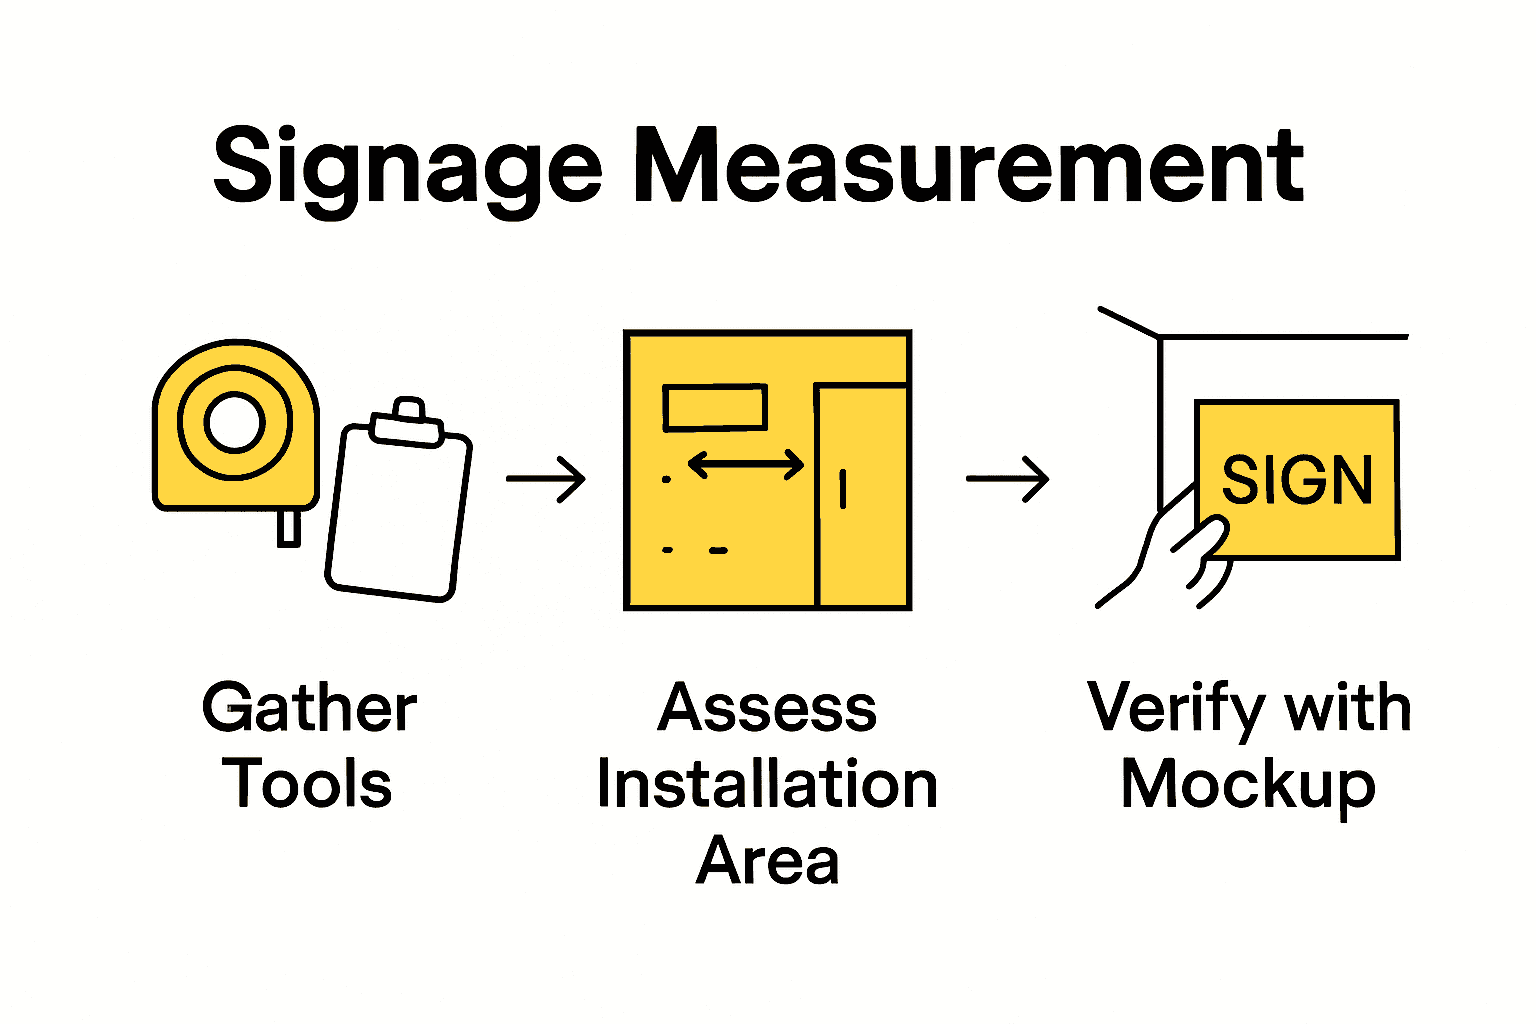
Step 4: Record Dimensions and Select Optimal Placement
Now that you have precise measurements, it is time to strategically document and plan your signage placement. Sign placement is critically dependent on viewing distance and context — small sign panels should be positioned at eye level for close viewing, while larger signs in expansive spaces require proportional height adjustments.
Create a comprehensive documentation system for your measurements. Use a dedicated notebook or digital spreadsheet to record exact dimensions including width, height, mounting surface material, and potential obstructions. Annotate your measurements with detailed notes about viewing angles, ambient lighting conditions, and surrounding architectural elements. Sketch a scaled representation of the installation area, marking precise mounting points and including measurements to help visualise the final sign placement.
Pro tip: Consider viewer perspective meticulously. A sign that looks perfect in your measurements might not translate effectively in real world conditions. Step back and visualise how people will interact with the signage from different approach angles. Take photographs of the proposed location with temporary markers indicating the sign boundaries to help you and your installation team confirm the optimal positioning.
Large format printing London projects particularly benefit from this documentation approach, as even small positioning errors are amplified at scale. With your dimensions carefully recorded and placement strategically planned, you are now prepared to move forward to the critical stage of sign design and material selection.
Step 5: Verify Measurements and Double-Check Accuracy
As you approach the final stages of your signage preparation, precision becomes paramount. A practical verification technique involves placing a cardboard panel in the proposed location to confirm size and placement before making any final commitments.
Implement a systematic verification process that goes beyond initial measurements. Cross reference your documented dimensions by measuring each area at least three times using different measuring tools. Compare your tape measure readings with your laser measuring device to eliminate potential discrepancies. Pay special attention to vertical and horizontal alignments, checking that your measurements account for any subtle wall irregularities or architectural nuances that could impact sign installation.
Pro tip: Create a physical mock up using lightweight materials like cardboard or kraft paper cut to your exact sign dimensions. Foamex signs printing London panels are particularly useful for this purpose as they are lightweight, easy to cut, and give an accurate representation of how the final sign will look and feel in situ. Engage colleagues or trusted observers to provide a fresh perspective and catch any details you might have overlooked.
With your measurements thoroughly verified and confirmed, you are now ready to proceed confidently to the final design and manufacturing stages of your signage project.
Ensure Your Signage Fits Perfectly Without Stress
Measuring for signage can be a daunting task, especially when the common challenges of capturing precise dimensions, assessing obstacles, and verifying measurements multiple times arise. These steps are vital to avoid costly errors and to ensure your signage looks professional and fits flawlessly in your space. If the thought of juggling tape measures, digital tools, and complex site assessments feels overwhelming, you are not alone.
At PromoSigns, we understand that every millimetre counts in signage installation. Our expert team specialises in designing, producing, and installing custom signs tailored to your exact space in London, Essex, and Kent. Benefit from our comprehensive service that eliminates measurement guesswork and ensures your signage achieves maximum visual impact and durability. Don’t risk delays or reworks; trust us to get your signage right the first time.
Ready to take the stress out of signage measurement and installation? Visit our homepage to explore our bespoke signage solutions. Connect with us today and secure precision, quality, and expert support for your next signage project. Your perfect fit starts here.
Frequently Asked Questions
How do I select the right tools for measuring signage?
To measure for signage accurately, gather essential tools including a professional tape measure, clipboard, pencil, digital camera, notepad, and, if possible, a laser measuring device. Begin by checking off each item in your toolkit to ensure you’re fully prepared before starting your measurements.
What steps should I take to assess the installation area for signage?
Evaluate the installation area by identifying potential obstacles such as electrical conduits, uneven surfaces, and nearby architectural features. Make a detailed sketch noting all potential interferences and dimensions, which will help inform your signage positioning and mounting methods.
How can I ensure my measurements for signage are precise?
To ensure accuracy, measure each dimension at least twice and cross-reference your findings with different measuring tools. For added verification, create a physical mock-up using cardboard cut to your sign’s dimensions, allowing you to visualise the size and placement before installation.
What factors should I consider when selecting the placement for my signage?
Placement should be influenced by viewing distance, ambient lighting, and sight lines. Make a note of these factors while documenting your measurements, and consider the viewer’s perspective to ensure clear visibility from different angles.
How can I double-check my measurement accuracy before installation?
Implement a verification process by measuring each area multiple times and comparing your results. Pay attention to any variations in alignment, and seek input from colleagues to catch any potential oversights in your measurements and placement.
Is it necessary to create detailed documentation for my signage measurements?
Yes, detailed documentation helps maintain accuracy and aids in future reference. Record all measurements, notes about conditions, and sketches in a dedicated notebook or digital format, ensuring you have a comprehensive record to support the installation process.
Recommended
- How to Install Wall Signs for Your Business Effectively – PromoSigns.co.uk
- Signage Size Guidelines 2025: The Essential Guide for London Businesses – PromoSigns.co.uk
- What Makes A Great Shop Sign – PromoSigns.co.uk
- Choosing Outdoor Signage: A Step-by-Step Guide for 2025 – PromoSigns.co.uk
