
Most British businesses rely on illuminated signage to capture attention, yet over half of all sign failures can be traced back to neglected maintenance. Keeping your sign clean, bright, and fully operational is about more than image — it prevents costly breakdowns and protects your brand around the clock. With practical steps grounded in real British conditions, you will learn how to assess, clean, and maintain every aspect of your illuminated signage for maximum impact and reliability.
Table of Contents
- Step 1: Assess Signage Condition And Power Supply
- Step 2: Clean Sign Surfaces And Lighting Components
- Step 3: Inspect And Replace Faulty Bulbs Or LEDs
- Step 4: Check Wiring And Electrical Safety
- Step 5: Test Illumination And Verify Performance
Table of Contents
Quick Summary
| Key Point | Explanation |
|---|---|
| 1. Regularly inspect signage condition | Conduct thorough visual and electrical assessments bi-annually to identify wear, damage, or electrical issues early and maintain appearance. |
| 2. Clean surfaces and lighting components | Disconnect power before cleaning. Use mild detergents and soft cloths to preserve sign visibility and prevent damage during cleaning. |
| 3. Replace faulty bulbs or LEDs promptly | Regularly check for dim or flickering lights. Replace faulty components with matched specifications to ensure consistent luminosity and visibility. |
| 4. Check wiring and electrical safety | Inspect wiring monthly for wear, frays, and loose connections to prevent failures and maintain electrical safety around signage. |
| 5. Test illumination and performance regularly | Evaluate signage performance under varying lighting conditions, ensuring uniform brightness and functionality of all components for a professional presentation. |
Step 1: Assess signage condition and power supply
Regular inspection of your illuminated business signs London is critical for maintaining their appearance, functionality, and longevity. This step involves a comprehensive visual and electrical assessment to identify potential issues before they escalate into costly repairs.
Begin by conducting a thorough visual inspection, looking carefully for signs of wear and damage. Check the entire surface of your signage for cracks, chips, fading, or corrosion, paying special attention to areas exposed to direct sunlight or harsh weather conditions. Metal signs should be examined for chipped paint or small dents, while plastic and acrylic surfaces require scrutiny for any structural compromises.
For electrical components, carefully inspect the power supply and lighting mechanisms. Test all illuminated elements to ensure consistent brightness and functionality, checking for burnt-out lights or flickering sections that might indicate underlying electrical problems. Use a multimeter to verify voltage stability and examine cable connections for any signs of wear or potential short circuits. By performing these detailed checks at least bi-annually, you can prevent minor issues from developing into significant repair challenges and maintain your signage’s professional appearance.
Warning: Always disconnect electrical power before conducting any close electrical inspections to ensure personal safety and prevent potential equipment damage.
Step 2: Clean sign surfaces and lighting components
Cleaning illuminated signage requires a systematic and careful approach to maintain both its aesthetic appeal and functional performance. This crucial maintenance step will help preserve your sign’s visibility and professional appearance while preventing potential damage during the cleaning process.
Safety is paramount when cleaning electrical signage. Always start by disconnecting the power source at the circuit breaker to prevent any electrical hazards. Use a soft brush to gently sweep away accumulated dust, cobwebs, leaves, and loose debris from the sign surface and its intricate crevices. For the actual cleaning, prepare a mild detergent solution and use a soft microfibre cloth to clean the surface, working methodically from top to bottom with gentle, overlapping strokes.
Pay special attention to the lighting components, which are particularly sensitive. Carefully clean LED elements and glass surfaces using specialised electronic cleaning solutions that won’t leave residue or cause electrical damage. For illuminated components, use slightly damp cloths rather than saturated ones, ensuring no moisture can penetrate electrical connections. Proper lighting maintenance not only keeps your sign looking pristine but also ensures optimal light performance and extends the overall lifespan of your shop signs London investment.
Warning: Never use abrasive materials, harsh chemicals, or high-pressure cleaning equipment on illuminated signs, as these can cause irreparable damage to delicate surfaces and electrical components.

Step 3: Inspect and replace faulty bulbs or LEDs
Maintaining the luminosity of your illuminated signage requires systematic inspection and prompt replacement of any underperforming lighting elements. This critical maintenance step ensures your sign remains visually striking and professionally presented at all times.
Regular lighting checks are essential for preventing potential business image issues. Carefully examine each individual bulb and LED for signs of dimming, flickering, or complete failure. Start by performing a visual inspection during daylight and then conduct a comprehensive assessment after dark when lighting performance is most apparent. Uniformly illuminated signs are crucial for maintaining a professional appearance and ensuring maximum visibility.
When replacing bulbs or LEDs, always match the exact specifications of the original components. Ensure you disconnect electrical power before attempting any replacements and use appropriate safety equipment. Keep spare bulbs or LED modules on hand to minimise downtime, and consider keeping a detailed log of replacement dates and specifications for future reference. Some modern illuminated signs use modular lighting systems that allow for easier individual component replacement, which can significantly reduce maintenance time and cost.
Working with professional signage companies London ensures you have access to matched components and expert technical support when replacements are needed.
Warning: Never attempt to replace electrical components without proper training or if you are uncertain about electrical systems. When in doubt, consult a professional signage maintenance technician to prevent potential electrical hazards or further damage to your signage.
Step 4: Check wiring and electrical safety
Electrical safety is paramount when maintaining illuminated signage, requiring a methodical approach to identifying and preventing potential hazards. This critical maintenance step ensures your sign remains both functional and safe for continued operation.
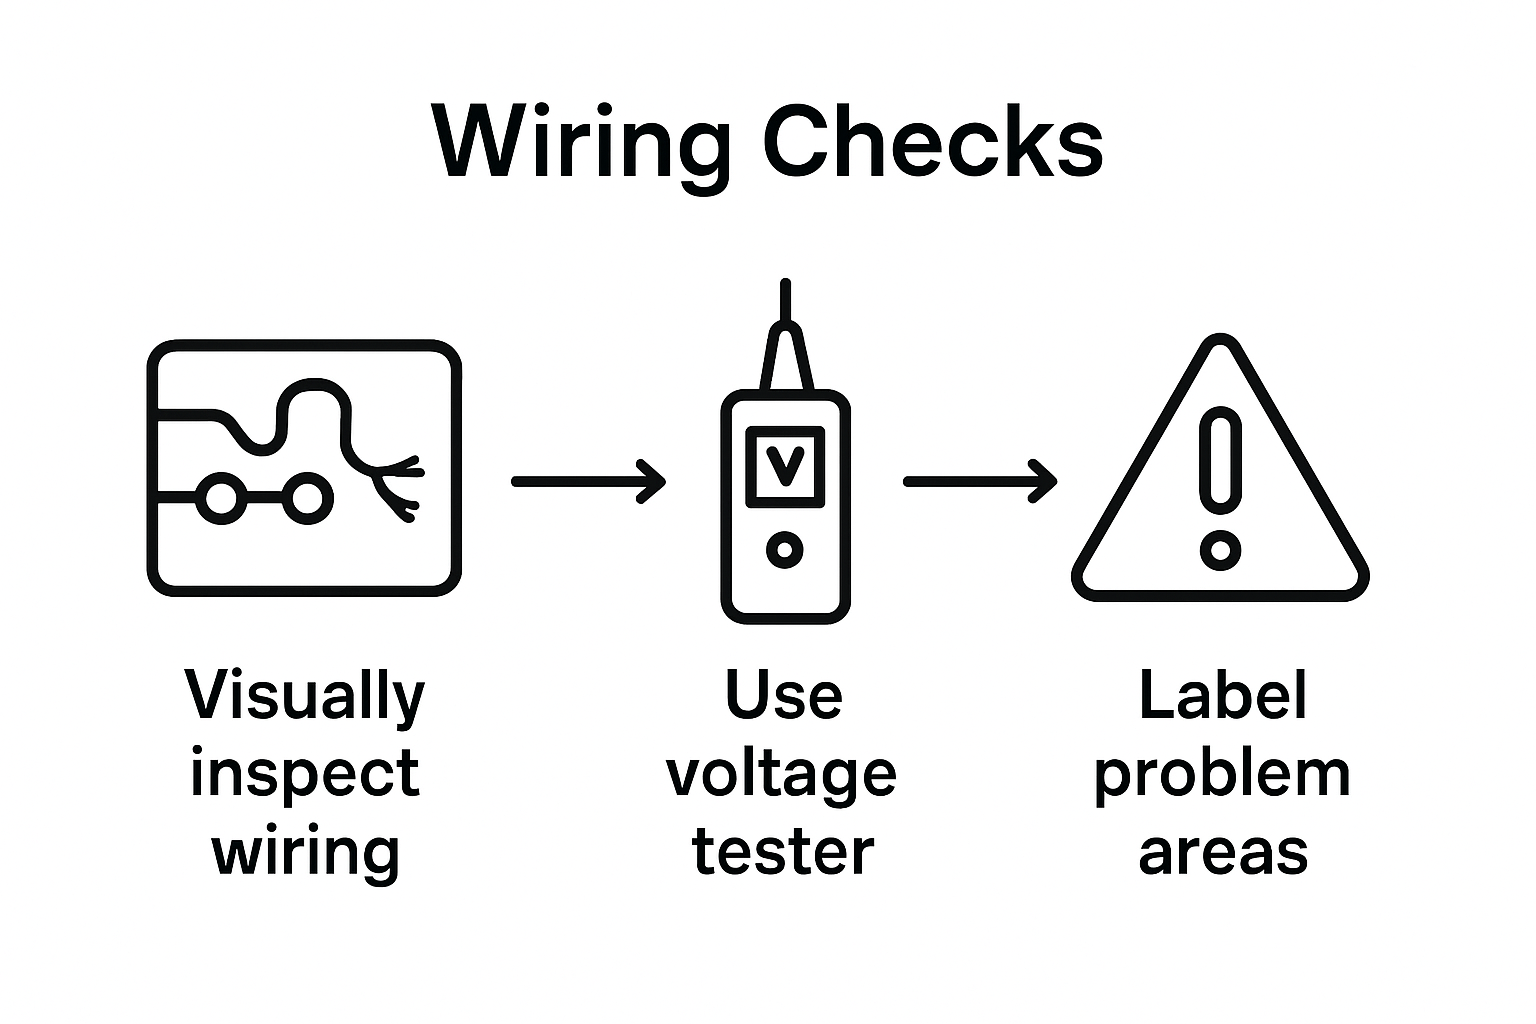
Regular electrical inspections are crucial for preventing potential system failures. Carefully examine all wiring components, looking specifically for signs of wear such as frayed cables, loose connections, or visible damage to electrical housings. Comprehensive monthly checks will help you identify potential issues before they escalate into costly repairs or dangerous electrical situations. Pay special attention to junction boxes and sealing points, ensuring they remain completely watertight to prevent moisture intrusion which can cause short circuits.
When conducting your inspection, use appropriate safety equipment and ensure the power is completely disconnected before touching any electrical components. Look for subtle signs of electrical stress such as discolouration around connection points, unexpected resistance when checking connections, or any unusual smell that might indicate electrical burning. Modern modular sign systems often feature easier access points for electrical testing, which can simplify your maintenance process and help you quickly identify potential problem areas.
For businesses with custom signs London featuring complex electrical systems, scheduling annual professional inspections alongside your own monthly checks provides the most comprehensive protection for your investment.
Warning: If you are not a qualified electrical technician, do not attempt complex electrical repairs. Any significant wiring issues or concerns should be addressed by a professional to prevent potential electrical hazards or damage to your signage system.
Step 5: Test illumination and verify performance
Verifying the performance of your illuminated signage is a critical final stage in maintenance, ensuring that all components function precisely as intended. This comprehensive assessment will confirm your sign delivers the maximum visual impact and professional presentation your business demands.
Digital and mechanical sign systems require meticulous performance evaluation. Begin by conducting a thorough illumination test during different lighting conditions day and night. Check for consistent brightness across all sections, examining each individual light module for uniform colour temperature and intensity. Regular performance verification helps identify subtle variations that could compromise your sign’s overall visual effectiveness.
For more complex illuminated signs with digital or animated components, extend your testing to include software functionality and mechanical movements. Verify that any programmable elements operate smoothly, checking for responsive controls and seamless transitions. Pay particular attention to software updates that might enhance performance or resolve potential technical issues. Modern signage systems often include diagnostic tools that can provide detailed insights into electrical and mechanical performance, allowing for precise monitoring and maintenance.
Businesses investing in large format printing London illuminated displays should include graphic surface condition checks alongside electrical testing, as UV exposure can degrade printed surfaces even when lighting components remain fully functional.
Warning: Always document your test results and performance metrics. Maintaining a detailed log will help you track gradual changes in your sign’s performance and identify potential issues before they become significant problems.
Keep Your Illuminated Signage Bright and Reliable with PromoSigns
Maintaining illuminated signage presents unique challenges such as ensuring consistent brightness, preventing electrical faults, and preserving the sign’s professional appearance under all conditions. This article highlights crucial steps including regular inspection of wiring, cleaning delicate lighting components safely, and replacing faulty bulbs or LEDs to avoid costly downtime and diminished brand impact. If you find these tasks overwhelming or need expert support to protect your investment, we understand the importance of reliable, eye-catching signage that truly represents your business.
At PromoSigns, we specialise in designing, producing, and installing custom illuminated signs across London, Essex, and Kent. Our professional team not only delivers stunning signage but also offers expert advice and maintenance services to ensure your sign remains at peak performance.
Don’t let electrical issues or wear reduce your sign’s effectiveness. Take the proactive step now — visit PromoSigns to explore solutions tailored for your illuminated signage needs. Benefit from our expertise to enhance your business visibility and keep your signage shining brilliantly for years to come.
Frequently Asked Questions
How often should I assess the condition of my illuminated signage?
Regularly assess the condition of your illuminated signage at least bi-annually. This proactive approach helps identify wear, damage, or electrical issues before they lead to costly repairs.
What safety precautions should I take when cleaning illuminated signage?
Always disconnect the power source at the circuit breaker before cleaning illuminated signage. Use a soft brush to remove debris and a microfibre cloth with a mild detergent solution to clean surfaces without damaging electrical components.
How can I tell if a bulb or LED in my signage needs replacing?
Check for dimming, flickering, or complete failure in bulbs or LEDs during both day and night assessments. Replace any problematic lighting elements promptly to maintain a consistent and professional appearance.
What should I inspect when checking the wiring of illuminated signage?
Inspect all wiring components for signs of wear such as frayed cables, loose connections, and visible damage. Regular monthly checks of junction boxes and electrical housings help prevent potential system failures or electrical hazards.
How do I test the illumination of my illuminated signage for performance?
Conduct a thorough illumination test during different lighting conditions to ensure consistent brightness. Verify the colour temperature and intensity of each light module to maintain optimal visual impact.
Should I document the maintenance process for my illuminated signage?
Yes, maintaining a detailed log of inspections, cleaning, and lighting replacements is crucial. Documenting these details helps track performance changes and identify potential issues before they escalate.
Recommended
- Smart Guide to Servicing Illuminated Signs in London – PromoSigns.co.uk
- A Step-by-Step Guide to Professional Commercial Sign Installation – PromoSigns.co.uk
- Essential Signage Maintenance Tips for Businesses in London – PromoSigns.co.uk
- Best Practices for Maintenance of Shop Signs – PromoSigns.co.uk
- Changing Projector Lamp: A Step-by-Step Guide for 2025 – Projector Display
