
Installing a new shop sign might seem as simple as fixing it to the wall and calling it done. Yet, surprisingly, something as basic as poor site assessment or the wrong materials can turn 70 percent of commercial signs into maintenance headaches before the end of their first year. Most owners focus only on design or cost and overlook the invisible groundwork that turns a sign into a lasting asset. Smart installation reveals its worth long before anyone plugs in the lights.
Table of Contents
- Step 1: Assess Your Environment For Sign Placement
- Step 2: Select The Right Materials For Your Sign
- Step 3: Prepare The Installation Site Thoroughly
- Step 4: Execute The Sign Installation With Precision
- Step 5: Verify Sign Stability And Visibility
- Step 6: Maintain And Update Your Sign As Needed
Table of Contents
Quick Summary
| Key Point | Explanation |
|---|---|
| 1. Assess the Installation Environment | Measure the area and consider lighting, obstructions, and local regulations for effective sign placement. |
| 2. Choose Appropriate Materials | Select durable materials suited for environmental conditions to enhance sign longevity and aesthetics. |
| 3. Ensure Thorough Site Preparation | Clear obstructions and verify surface integrity to provide a stable base for the sign installation. |
| 4. Execute Installation with Precision | Maintain careful alignment and secure mounting to prevent misplacement and ensure durability. |
| 5. Implement Regular Maintenance Routine | Conduct routine cleaning and assessments to preserve sign condition and relevance against business changes. |
Step 1: Assess Your Environment for Sign Placement
The foundation of a successful sign installation process begins with a comprehensive environmental assessment. Understanding your specific location and space requirements is crucial for creating an impactful and functional signage solution. Before purchasing or designing your sign, you will need to conduct a thorough evaluation of the installation environment.
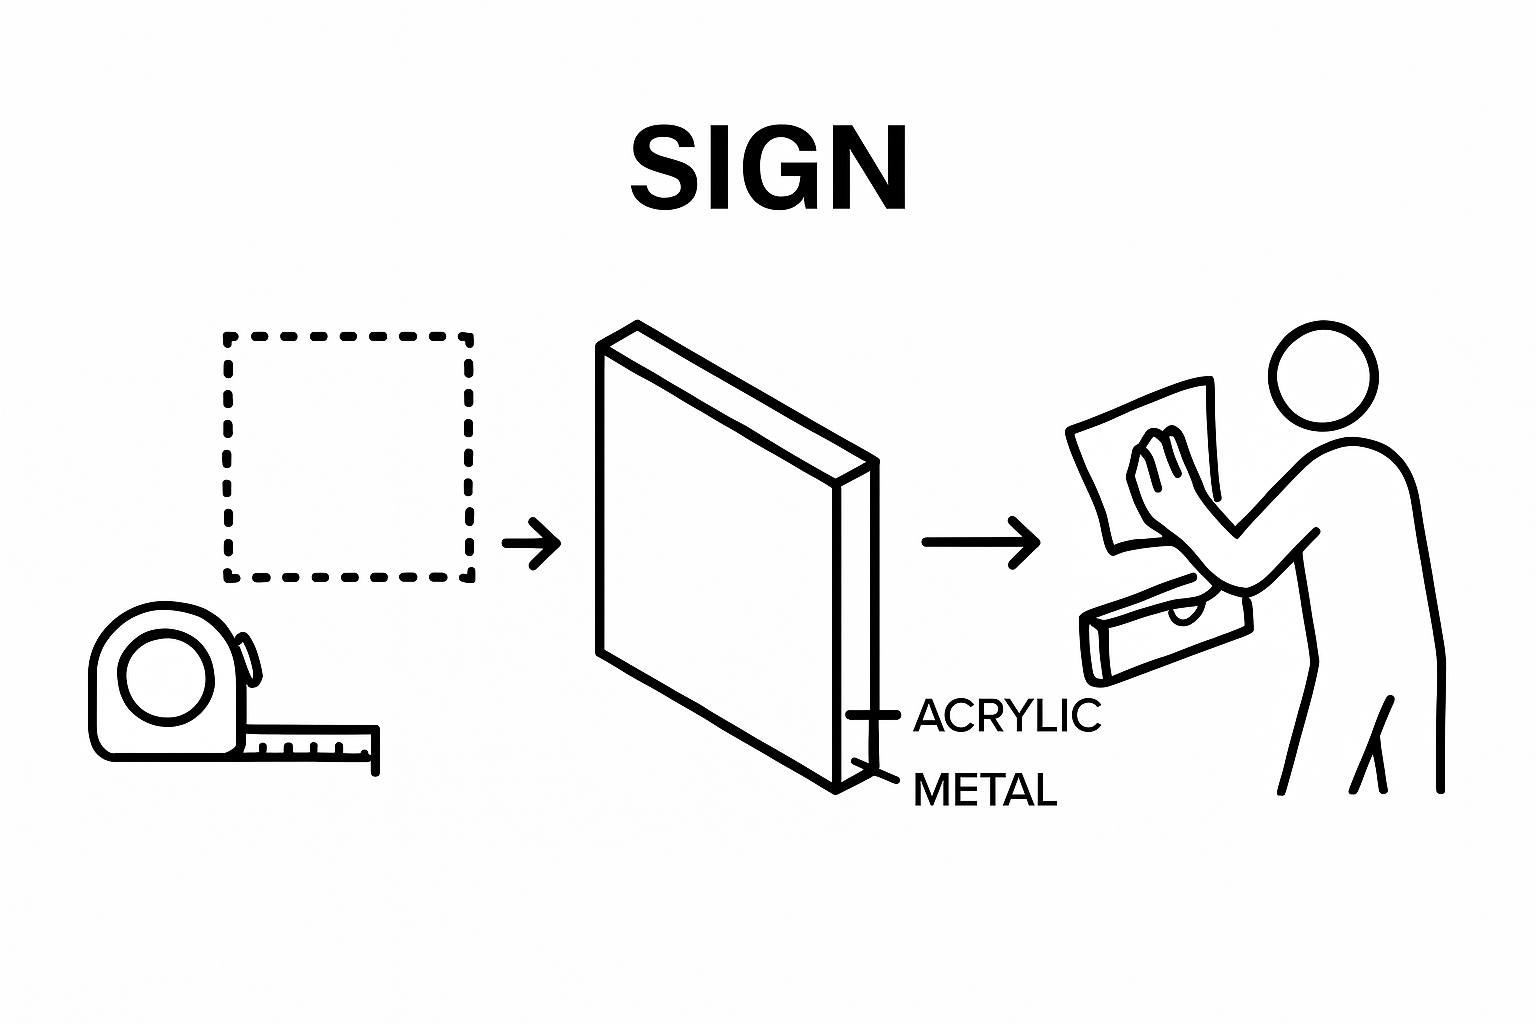
Start by measuring the precise area where your sign will be placed. This involves more than simply taking linear measurements. You must consider vertical and horizontal clearances, potential obstructions, lighting conditions, and surrounding architectural elements. Wall surface material, structural integrity, and available mounting points are critical factors that will determine your installation strategy.
Careful observation of the surrounding space helps prevent potential installation challenges. Walk around the designated area and examine potential sight lines. Consider how different times of day and lighting conditions might affect sign visibility. Are there shadows from nearby buildings or trees? Will direct sunlight create glare that could obscure your sign’s message? These nuanced environmental considerations can significantly impact the effectiveness of your signage.
Your assessment should also account for local building regulations and potential permit requirements. Some municipalities have specific guidelines about sign placement, dimensions, and illumination. Check our guide on choosing outdoor signage to understand potential municipal restrictions that might influence your installation process. Businesses unsure about planning requirements can consult experienced signage companies London who regularly navigate local authority guidelines across every London borough.
Key verification points for a successful environmental assessment include:
- Complete dimensional measurements of installation area
- Documented observation of lighting and visibility conditions
- Identification of potential mounting challenges
- Verification of structural support capabilities
- Confirmation of local signage regulatory compliance
By meticulously evaluating your environment before sign installation, you create a solid foundation for a professional, effective signage solution that meets both aesthetic and functional requirements.
Step 2: Select the Right Materials for Your Sign
Selecting the right materials is a critical phase in the sign installation process that directly impacts durability, visual appeal, and long-term performance. Your material choice will determine how effectively your sign communicates your message and withstands environmental challenges. Material selection is not merely about aesthetics but about creating a robust communication tool that represents your brand consistently.
Begin by evaluating the specific environmental conditions where your sign will be installed. Interior signs require different material considerations compared to exterior signage exposed to weather fluctuations, UV radiation, and temperature variations. For outdoor applications, materials like aluminium, marine-grade stainless steel, and high-density polyethylene offer exceptional resistance to corrosion, fading, and structural degradation. Read our comprehensive guide on choosing the right commercial sign for more detailed insights into material selection.
Consider the visual and functional requirements of your sign. Acrylic provides a sleek, modern appearance and works exceptionally well for illuminated signs, while metal materials offer robust structural integrity. Composite materials like aluminium composite panels combine lightweight properties with remarkable durability, making them an excellent choice for complex sign designs. Factors such as weight, mounting requirements, and potential wind load should guide your material selection process. For lightweight indoor promotional displays, foamex signs printing London offers a cost-effective, easy-to-install substrate that works well alongside permanent exterior signage.
Key verification criteria for material selection include:
- Material compatibility with installation environment
- Expected lifespan and maintenance requirements
- Visual consistency with brand aesthetic
- Compliance with local building and safety regulations
- Cost-effectiveness and long-term performance
By carefully assessing these material characteristics, you create a sign that not only looks impressive but also delivers reliable performance across diverse environmental conditions. Your thoughtful material selection becomes the foundation for a successful sign installation strategy.
Step 3: Prepare the Installation Site Thoroughly
Thorough site preparation is the cornerstone of a successful sign installation, transforming your carefully selected materials into a professional, long-lasting communication tool. This critical stage involves meticulous planning and precise execution to ensure your sign will be securely and correctly positioned. Proper site preparation minimises potential installation complications and prevents future maintenance issues.
Begin by clearing the designated installation area of any potential obstructions. Remove dirt, debris, loose paint, or previous mounting hardware that could compromise the sign’s stability. Inspect the mounting surface carefully, checking for structural integrity, moisture damage, or uneven surfaces that might require additional preparation. If you are installing on brick, concrete, or wooden surfaces, each material demands specific preparation techniques. For instance, concrete surfaces might need anchor bolts, while wooden surfaces require robust mounting brackets that distribute weight evenly.
Careful measurement and marking are essential during site preparation. Use a high-quality laser level to ensure precise horizontal and vertical alignment, which prevents future visual misalignment or structural stress. Accurate measurements are crucial for professional-looking installations. Consider environmental factors such as potential wind load, direct sunlight exposure, and proximity to other architectural elements. Learn more about professional sign installation techniques to understand the nuanced considerations for different mounting scenarios.
Key verification points for site preparation include:
- Complete surface cleaning and debris removal
- Structural surface integrity confirmation
- Precise measurement and marking
- Appropriate mounting hardware selection
- Verification of alignment and levelness
By dedicating sufficient time and attention to site preparation, you create a robust foundation that ensures your sign will be securely installed, visually appealing, and capable of withstanding environmental challenges for years to come.
| Verification Point | Description |
|---|---|
| Surface cleaning and debris removal | Ensure area is free from dirt, old hardware, and loose paint. |
| Structural surface integrity confirmation | Check for damage, moisture, or instability on the surface. |
| Precise measurement and marking | Accurately measure and mark installation points. |
| Appropriate mounting hardware selection | Choose fixings that suit surface type and sign weight. |
| Alignment and levelness verification | Use tools to confirm perfect alignment horizontally and vertically. |
Step 4: Execute the Sign Installation with Precision
The moment of sign installation represents the culmination of careful planning and preparation. Precision during this phase transforms your meticulously selected materials and thoroughly prepared site into a professional, impactful visual communication tool. Successful execution requires a combination of technical skill, patience, and methodical approach.
Begin by gathering all necessary tools and equipment before starting the installation. Your toolkit should include a professional-grade level, power drill with multiple drill bit sizes, mounting anchors compatible with your surface material, protective safety equipment, and clean microfibre cloths for final surface preparation. Work systematically by first dry-fitting the sign to confirm exact positioning. Use your previously marked guidelines to ensure perfect alignment, making minor adjustments as needed. Accuracy at this stage prevents costly repositioning or remounting later.
Careful handling is paramount during the actual mounting process. If working with heavier signs, consider having an additional person assist you to maintain control and prevent potential damage. Apply mounting hardware with consistent, controlled pressure, ensuring each anchor point is secure and level. Explore our comprehensive guide to professional sign installation for advanced techniques and potential troubleshooting strategies. Pay special attention to weight distribution and structural integrity, particularly for larger or more complex signage installations. For large-scale fascia or wall-mounted installations, having graphics produced by specialists in large format printing London ensures panels are cut precisely to specification, reducing installation time and the risk of misalignment.
Key verification points for precise sign installation include:
- Perfect horizontal and vertical alignment
- Secure and evenly distributed mounting hardware
- No visible gaps between sign and mounting surface
- Consistent spacing and levelness
- Clean, unblemished sign surface after installation
By executing your installation with meticulous attention to detail, you ensure a professional result that not only looks impressive but also stands up to environmental challenges and provides years of reliable service.
Step 5: Verify Sign Stability and Visibility
Verifying sign stability and visibility represents the crucial final checkpoint in your installation process, ensuring that your carefully crafted signage delivers its intended communication effectively. This step transforms your technical installation into a functional, professional visual communication tool. Comprehensive verification goes beyond simple visual inspection, requiring systematic and methodical assessment.
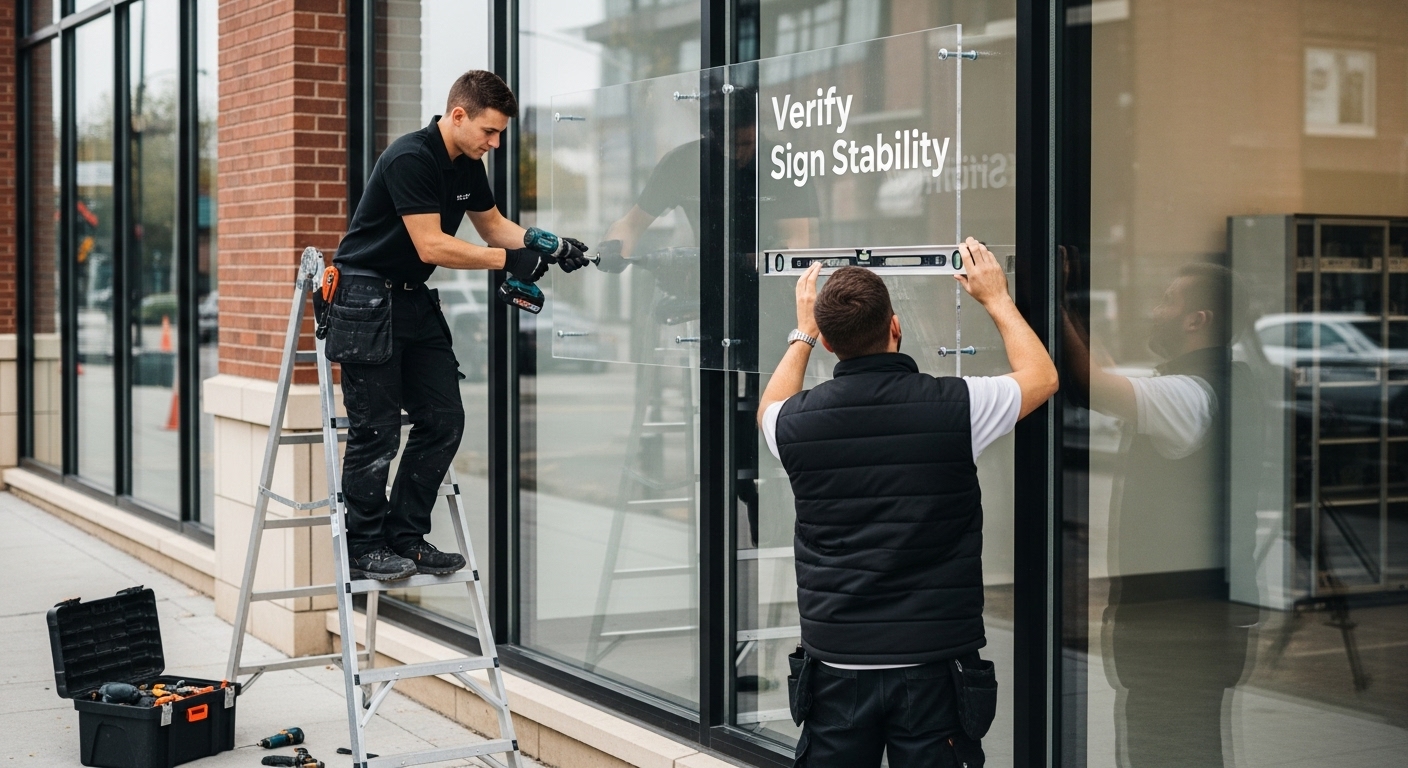
Commence your verification by conducting a comprehensive stability test. Gently apply controlled pressure to multiple points of the sign, checking for any movement or slight wobbling that might indicate insufficient anchoring. Use a professional-grade level to confirm that the sign remains perfectly horizontal and vertical, even under minimal stress. Examine all mounting hardware, ensuring each bolt, anchor, and connection point is tight and secure. Pay special attention to signs installed in high-traffic areas or locations exposed to environmental challenges like wind, temperature fluctuations, or potential physical impact.
Visibility assessment demands a strategic approach that considers multiple viewing angles and lighting conditions. Review our comprehensive guide to professional sign installation for advanced visibility testing techniques. Walk around the installation site at different times of day, observing how sunlight, shadows, and surrounding architectural elements interact with your sign. Test the sign’s legibility from various distances and approach angles, ensuring that text and graphics remain clear and easily readable. For illuminated signs, verify that lighting elements function correctly and provide uniform, consistent illumination without creating harsh glare or uneven brightness. Businesses investing in bespoke custom signs London benefit from signs engineered specifically for their location, ensuring optimal visibility and structural performance from day one.
Key verification criteria for sign stability and visibility include:
- Zero horizontal or vertical movement when tested
- Perfect alignment and levelness
- Clear legibility from multiple viewing distances
- Consistent visibility under different lighting conditions
- No visual obstructions or interference from surrounding elements
By meticulously verifying your sign’s stability and visibility, you ensure a professional installation that effectively communicates your message and withstands environmental challenges.
Step 6: Maintain and Update Your Sign as Needed
Maintaining your sign is not a one-time task but an ongoing commitment to preserving its visual impact and functional integrity. Regular maintenance ensures your sign continues to communicate your message effectively, representing your brand with the same professionalism as the day it was installed. This final step transforms your sign installation from a singular event into a long-term strategic asset that evolves with your business.
Establish a consistent maintenance routine that includes periodic cleaning, inspection, and potential updates. Use soft, non-abrasive microfibre cloths and specialised cleaning solutions appropriate to your sign’s material composition. For exterior signs, this means removing accumulated dust, dirt, and potential organic growth like moss or algae that could degrade the sign’s surface. Pay special attention to illuminated signs, checking electrical connections, replacing dim or flickering bulbs, and ensuring all lighting elements function uniformly. Discover our comprehensive guide to sign maintenance best practices to develop a robust preservation strategy.
Beyond routine cleaning, remain proactively attuned to your sign’s condition and your evolving business needs. Signs are dynamic communication tools that should reflect your current brand identity, messaging, and market positioning. Consider scheduling annual reviews to assess whether your sign still effectively represents your business. Factors like changes in branding, business expansion, or shifts in local market trends might necessitate sign updates or partial redesigns. Minor modifications such as refreshing colours, updating typography, or incorporating new contact information can significantly extend your sign’s relevance and impact. When a full refresh is needed, the full range of shop signs London options — from illuminated fascias to flat channel letters — ensures there is always a solution that fits your updated brand and budget.
Key maintenance and update verification points include:
- Quarterly comprehensive cleaning and inspection
- Annual sign condition and relevance assessment
- Prompt repair of any physical damage or wear
- Verification of lighting and electrical components
- Alignment with current brand messaging and visual identity
By treating sign maintenance as an ongoing process, you protect your initial investment and ensure your visual communication remains sharp, professional, and aligned with your business’s dynamic journey.
| Maintenance Task | Frequency | Purpose |
|---|---|---|
| Comprehensive cleaning and inspection | Quarterly | Remove dirt, dust and assess any new damage |
| Condition and relevance assessment | Annually | Ensure sign still reflects current brand and messaging |
| Repair of physical damage or wear | As needed | Address chips, scratches, or vandalism promptly |
| Lighting and electrical component verification | Quarterly | Replace bulbs, check for electrical faults |
| Update for brand messaging or visual identity | Upon brand change | Keep sign aligned with latest branding |
Take the Stress Out of Sign Installation – Leave It to the Experts
If you have ever faced uncertainty about site preparation, worried about material suitability, or felt overwhelmed by local regulations, you are not alone. The article has highlighted how even the smallest oversight in the sign installation process can lead to delays, extra costs, and missed brand opportunities. When every step counts, from environmental assessment to stability checks, a local partner with technical mastery can make all the difference.
Let Promosigns turn a complicated process into a straightforward win for your business. Our team offers everything from expert advice on material selection and professional installation to advanced maintenance, all underpinned by trusted experience across London, Essex, and Kent. Start strong and stay visible — visit our signage solutions page for immediate support or head directly to Promosigns to secure your next step towards professional, impactful signage. Take action today and make your sign installation success a certainty.
Frequently Asked Questions
What are the key steps in the sign installation process?
The sign installation process involves assessing your environment, selecting the right materials, preparing the installation site, executing the installation with precision, verifying sign stability and visibility, and maintaining and updating your sign as needed.
How do I assess the right environment for sign placement?
To assess the right environment for sign placement, measure the installation area, consider potential obstructions and lighting conditions, examine the mounting surface’s material and integrity, and ensure compliance with local regulations.
What materials should I consider for outdoor signage?
For outdoor signage, consider durable materials such as aluminium, marine-grade stainless steel, and high-density polyethylene, which offer resistance to corrosion, fading, and environmental degradation.
How can I ensure my sign remains visible and legible?
To ensure your sign remains visible and legible, conduct a visibility assessment from multiple angles and distances, consider environmental factors like lighting and shadows, and ensure consistent maintenance, including cleaning and electrical checks.
Recommended
- A Step-by-Step Guide to Professional Commercial Sign Installation – PromoSigns.co.uk
- How to Install Wall Signs for Your Business Effectively – PromoSigns.co.uk
- How to Install Your Shop Front Sign Like a Pro – PromoSigns.co.uk
- How to Install Shop Signs: A Step-by-Step Guide for 2025 – PromoSigns.co.uk
