
Did you know that over 70 percent of customers believe a well-placed sign can influence their decision to enter a business? The way you install your signage directly affects not only your brand’s visibility but also its perceived professionalism. Preparing, measuring, and securing your sign in the right spot can help attract more people and make your location stand out for all the right reasons.
Table of Contents
- Step 1: Assess Site And Prepare Tools
- Step 2: Confirm Signage Measurements And Layout
- Step 3: Install Mounting Hardware Securely
- Step 4: Position And Fix Signage Precisely
- Step 5: Verify Installation Quality And Safety
Table of Contents
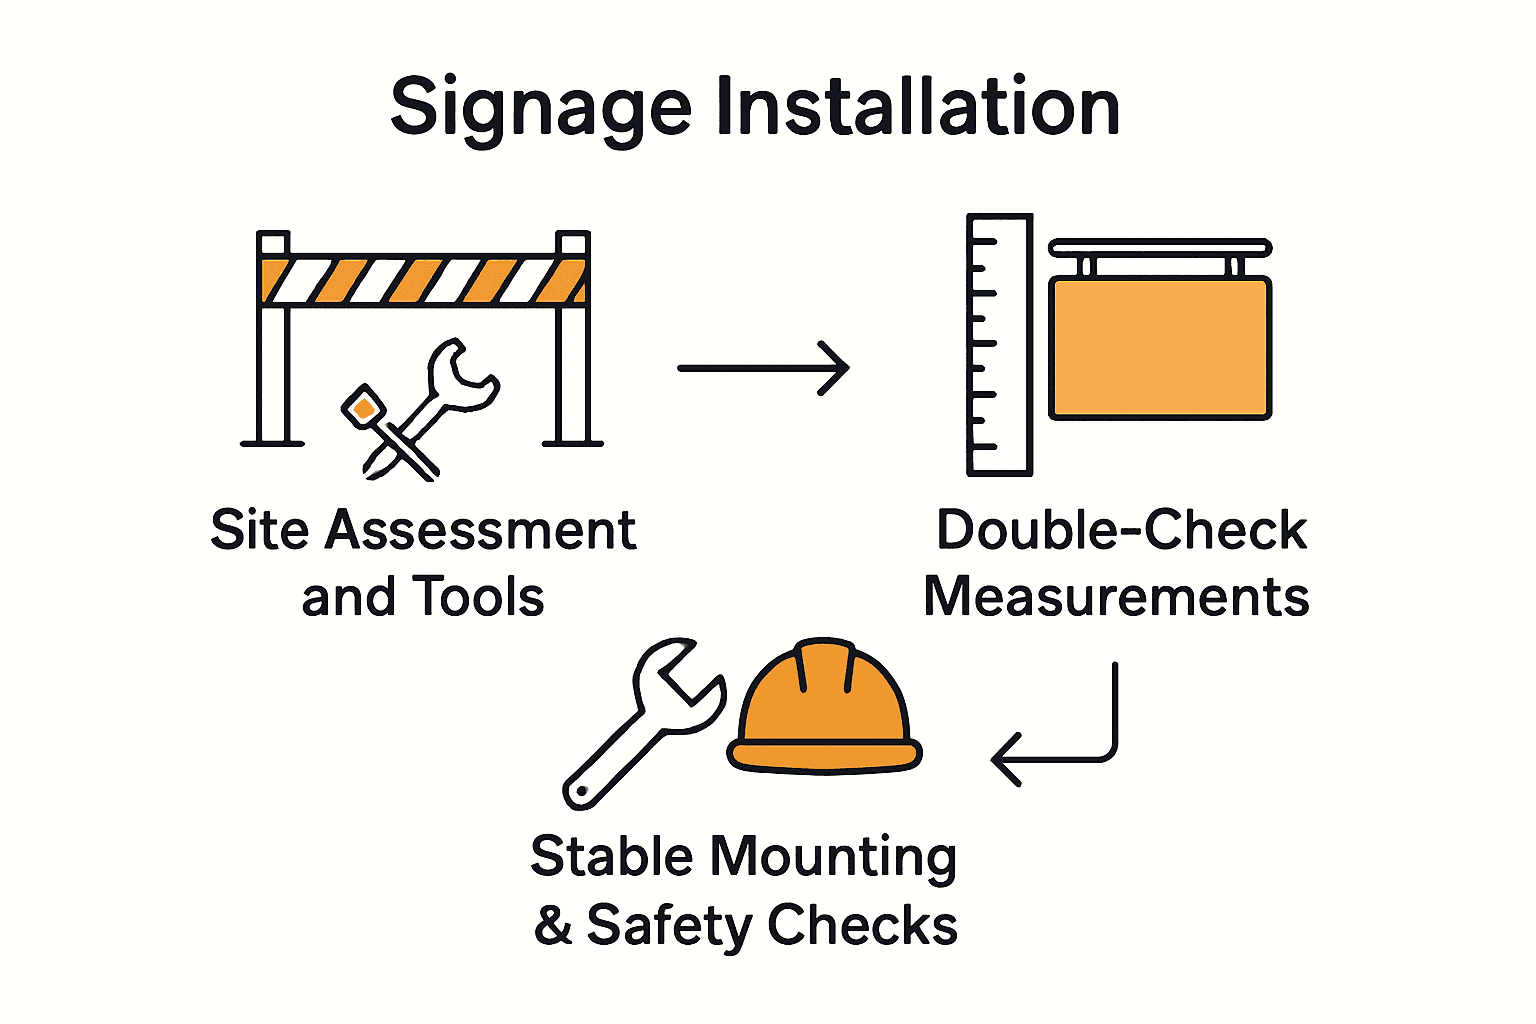
Quick Summary
| Key Point | Explanation |
|---|---|
| 1. Assess site before installation | Ensure the area is safe, stable, and free of obstacles to facilitate smooth sign installation. |
| 2. Confirm precise measurements and layout | Double-check the dimensions and positioning to avoid costly miscalculations and enhance visibility. |
| 3. Securely install mounting hardware | Use appropriate hardware and ensure all points are stable to prevent future failures or accidents. |
| 4. Position signage with precision | Use a spirit level to achieve alignment and check for visibility from multiple angles. |
| 5. Conduct a thorough safety verification | Inspect the installation for any issues and confirm it doesn’t obstruct safety features or pathways. |
Step 1: Assess Site and Prepare Tools
Before diving into your signage installation project, you will need to thoroughly assess the installation site and gather your equipment. Ensuring the site has sufficient physical space and is safe and stable is crucial before beginning any installation work.
Start by conducting a comprehensive site inspection. Look for potential mounting surfaces like walls, windows, or standalone structures. Check the area for obstacles such as electrical conduits, ventilation systems, or existing fixtures that might interfere with your sign placement. Measure the exact dimensions of your intended installation area and compare them against your signage specifications to guarantee a perfect fit.
Always inspect your tools and equipment before beginning. Your essential toolkit should include a spirit level, measuring tape, electric drill, appropriate drill bits, wall anchors, screwdrivers, protective safety glasses, work gloves, and a sturdy ladder.
Pro Tip: Double-check that all electrical tools are in excellent working condition and fully charged to prevent unexpected interruptions during installation.
Be prepared for potential site variations. Every location presents unique challenges, so flexibility and careful preparation will set the stage for a smooth signage installation process. Working with professional signage companies London at this stage ensures the site assessment is carried out to a professional standard, with experienced installers identifying potential issues before work begins.
Step 2: Confirm Signage Measurements and Layout
With your site assessed and tools prepared, the next crucial step is confirming your signage measurements and layout. Your sign should be easy to read and understand, avoiding excessive colours, fonts, or images that might distract from your primary message.
Begin by creating a precise layout template. Use measuring tape to mark out the exact dimensions of your sign on the chosen surface. Consider the visual perspective from different angles and distances your potential customers might view the sign. Pay special attention to font legibility and positioning relative to sunlight to prevent glare during different times of the day.
When finalising your layout, think about proportionality and balance. Your sign should complement its surrounding environment, harmonising with the architectural style and colour scheme of your building. A well-designed shop signs London installation not only communicates your brand message but also enhances the overall aesthetic appeal of your business premises. Your signage size guidelines will play a critical role in determining the perfect layout and measurements for maximum visual impact.
Double-check all measurements twice. A small miscalculation can lead to significant installation challenges or an unprofessional appearance. Take your time with this step to ensure precision and visual harmony.
Step 3: Install Mounting Hardware Securely
Now comes the critical phase of securely installing your mounting hardware to ensure your signage remains stable and professional. It is essential to inspect all tools and equipment before use to guarantee they are in good working condition and will support your installation safely.
Start by selecting the appropriate mounting hardware for your specific surface type. Wall anchors, expansion bolts, and mounting brackets will vary depending on whether you are installing on brick, drywall, concrete, or wooden surfaces. Carefully drill pilot holes using a spirit level to ensure perfectly straight and aligned mounting points. When working at height, use a sturdy ladder and maintain three points of contact to prevent accidents.
Professional installers emphasise the importance of proper licensing and insurance when undertaking sign installations, which underscores the need for meticulous attention to detail during the mounting process. Choose mounting hardware that can support the full weight of your sign with an additional safety margin to prevent potential future failures. Use washers and ensure all bolts are tightened to the manufacturer’s recommended torque specifications.
Business signs London installations on masonry facades require specialist fixings and experienced installation teams to ensure structural safety and planning compliance — this is one area where professional installation pays dividends over a DIY approach.
Pro Tip: Always wear protective safety equipment like work gloves and safety glasses during installation. Double-check each mounting point for stability before proceeding to hang your final sign. A secure foundation is the key to a professional and long-lasting signage installation.

Step 4: Position and Fix Signage Precisely
With your mounting hardware securely in place, the next critical step is positioning and fixing your signage with absolute precision. Choosing a location where your sign is visible to your target audience and considering traffic flow and visibility from various angles is paramount.
Begin by carefully aligning your sign with the pre-installed mounting hardware. Use a spirit level to ensure the sign is perfectly horizontal or vertical, depending on your design specifications. Pay close attention to the sign’s angle to maintain legibility and prevent readability issues. Consider the surrounding environment and potential sunlight glare that might impact visibility during different times of the day.
With your wall sign installation strategy in mind, carefully attach the sign to the mounting hardware. Use the appropriate fixing mechanisms like bolts, brackets, or specialised sign mounting systems. Ensure each connection point is tightened to the manufacturer’s specifications. Double-check the sign’s stability by gently testing its position and making minor adjustments as needed.
Large format printing London graphics and vinyl applications require particular care during positioning to avoid air pockets, misalignment, or substrate damage — always allow adequate time for this stage rather than rushing the final fix.
Pro Tip: Take a step back and view the sign from multiple angles and distances. This will help you confirm that the positioning looks professional and achieves maximum visual impact. A precisely positioned sign can significantly enhance your business’s visual communication and brand presence.
Step 5: Verify Installation Quality and Safety
With your signage now positioned, the final critical step is conducting a comprehensive quality and safety verification. Safety should be the top priority during sign installation, emphasising the importance of adhering to proper protocols to protect workers and ensure the longevity of your signage.
Begin by performing a thorough visual inspection of the entire installation. Check that all mounting points are secure and the sign is level, with no visible gaps or misalignments. Test the sign’s stability by gently applying light pressure from different angles. Look for any signs of potential stress or weakness in the mounting hardware that could compromise the sign’s integrity over time.
For your professional commercial sign installation, consider documenting the installation process with photographs. This provides a record of the work completed and can be valuable for future maintenance or potential warranty claims.
Foamex signs printing London panels and lightweight interior signs should be checked for surface adhesion and fixing integrity, particularly in high-traffic areas where vibration or impact may affect long-term stability.
Pro Tip: Conduct a final safety check by assessing the surrounding environment. Ensure the sign does not interfere with pedestrian walkways, emergency exits, or other critical building features. A truly professional installation goes beyond just hanging the sign — it considers the broader context of safety and functionality.
Ensure Flawless Signage Installation with Expert Support
Mastering the signage installation process can feel overwhelming, especially when precise measurements, secure mounting, and safety checks are all critical to success. If you have ever faced uncertainty about selecting the right hardware or positioning your sign for maximum impact, know that you are not alone. The challenge lies in transforming technical steps into a seamless and professional result that truly represents your brand.
Avoid costly errors and delays by partnering with seasoned professionals. At Promo Signs, we specialise in custom design, production, and installation services tailored to businesses across London, Essex, and Kent. From illuminated signs to carefully installed shop signs, we handle the entire process so you can focus on your business.
Ready to elevate your business presence with perfectly installed signage that lasts and impresses? Visit Promo Signs today and take the first step towards hassle-free, expert signage installation designed around your goals.
Frequently Asked Questions
How do I conduct a site assessment for signage installation?
Begin by inspecting the installation area for adequate space and safety. Look for any obstacles that could affect placement, such as electrical wires or ventilation systems, and measure the area to ensure your sign fits perfectly.
What tools do I need for a successful signage installation?
Prepare a toolkit that includes a spirit level, measuring tape, electric drill, safety glasses, and work gloves. Ensure all tools are in good working condition and take a moment to check that your electric tools are fully charged before starting.
How can I ensure my sign is positioned correctly?
Position your sign by aligning it with the pre-installed mounting hardware and using a spirit level to verify it is straight. After fixation, check visibility from different angles to enhance the sign’s impact on your target audience.
What steps should I take to verify the stability of my sign after installation?
To verify stability, conduct a visual inspection of all mounting points and gently test the sign by applying light pressure from various angles. Make sure it remains secure and that there are no visible gaps or misalignments in the installation.
How can I document the signage installation for future reference?
Document the installation process by taking clear photographs from multiple angles of the completed work. This will help you keep a record for future maintenance or warranty claims and ensure you have evidence of the installation condition.
What safety precautions should I consider during signage installation?
Prioritise safety by wearing protective gear, such as gloves and safety glasses, throughout the installation process. Also, ensure the installation does not obstruct pedestrian pathways or critical building features to enhance safety for all.
Recommended
- A Step-by-Step Guide to Professional Commercial Sign Installation – PromoSigns.co.uk
- How to Install Your Shop Front Sign Like a Pro – PromoSigns.co.uk
- How to Install Wall Signs for Your Business Effectively – PromoSigns.co.uk
- What Makes A Great Shop Sign – PromoSigns.co.uk
