
Shop signs do far more than just show your name—they set the tone for your brand and can even dictate footfall. Many shop owners worry most about eye-catching graphics or brand colours, but the real difference comes down to proper installation. Over 65 percent of sign failures happen due to simple installation errors, not bad design. So how you fit your sign could mean the difference between standing out on the high street and getting lost in the crowd.
Table of Contents
Table of Contents
- Planning Your Shop Sign Installation
- Choosing The Right Tools And Materials
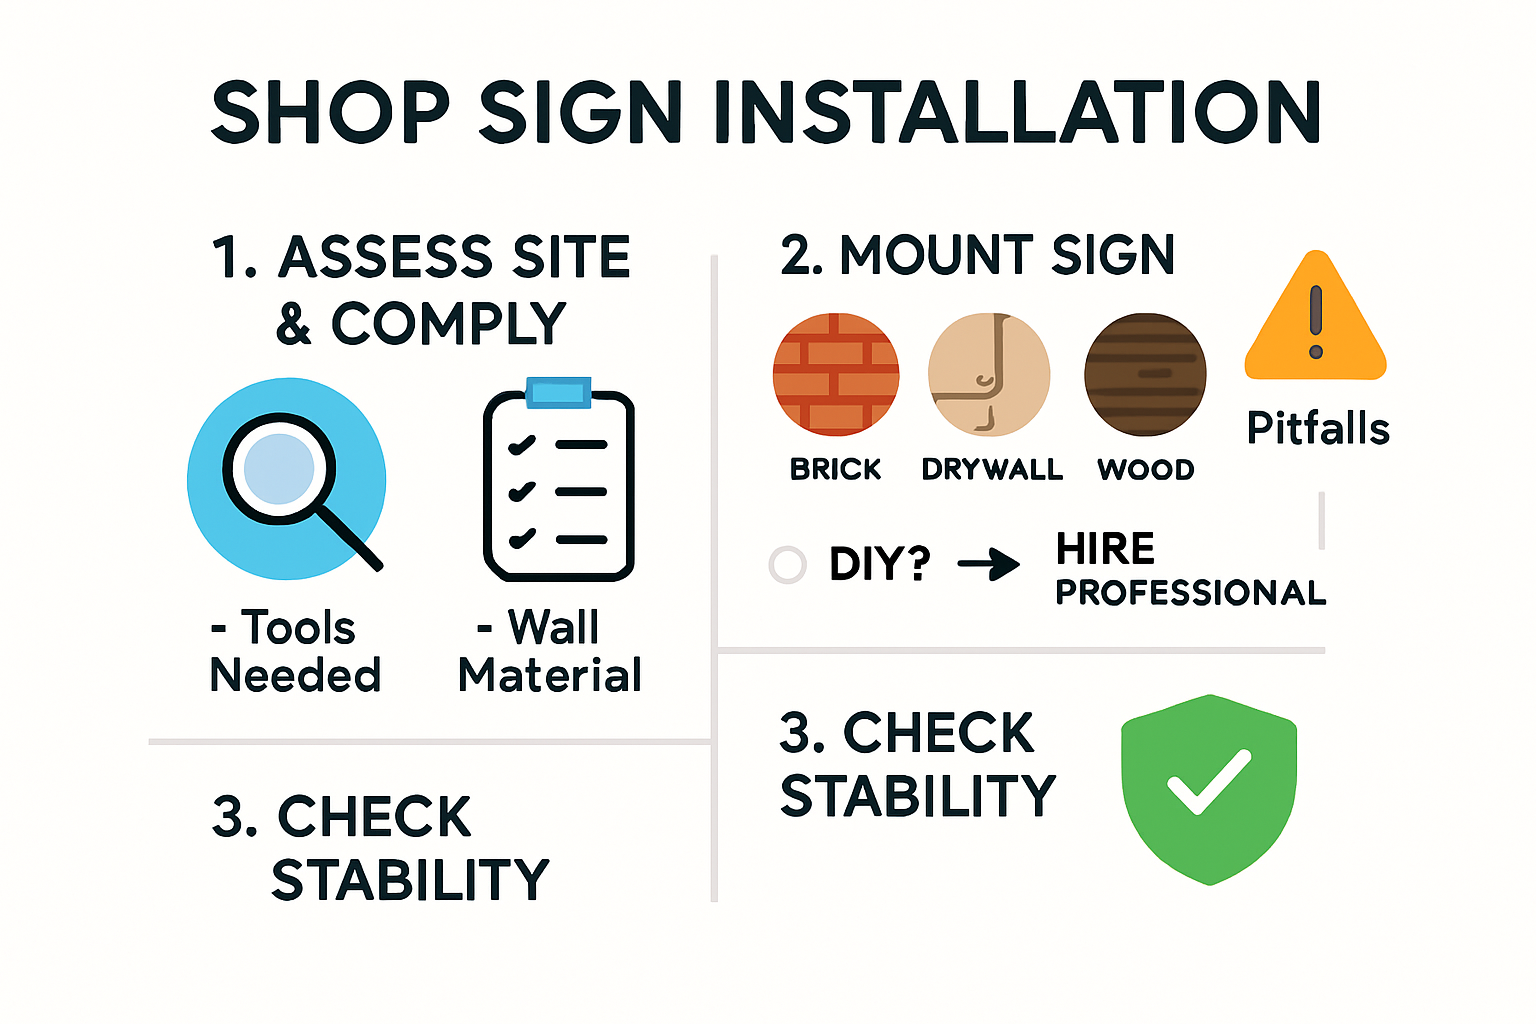
- Step-By-Step Shop Sign Mounting Process
- Common Mistakes And Expert Tips For Shop Owners
Quick Summary
| Takeaway | Explanation |
|---|---|
| Understand Local Regulations | Research and comply with local signage laws to avoid legal issues. |
| Select Quality Tools and Materials | Invest in professional-grade tools and weather-resistant materials for durability. |
| Follow a Precise Mounting Process | Use careful measurement and proper techniques for secure sign installation. |
| Prioritise Design and Visibility | Ensure simplicity and contrast in sign design for better visibility. |
| Regularly Maintain Your Signage | Ongoing inspections and professional support reinforce brand perception and longevity. |
Planning Your Shop Sign Installation
Successful shop sign installation requires meticulous planning and strategic preparation. Business owners must navigate multiple considerations to ensure their signage effectively communicates their brand identity while meeting local regulatory requirements.
Understanding Local Signage Regulations
Before commencing any installation project, comprehending local signage regulations is paramount. According to the City and County of San Francisco’s permit guide, businesses must carefully review zoning requirements and determine permit necessities. This preliminary research prevents potential legal complications and unnecessary expenses.
Each local authority possesses unique guidelines regarding sign dimensions, placement, illumination, and structural requirements. These regulations can significantly impact your sign’s design, size, and mounting method. Consulting with your local planning department or a professional signage consultant can provide precise insights into specific municipal codes.
Site Assessment and Technical Preparation
A thorough site assessment forms the foundation of successful sign installation. This process involves examining the physical characteristics of your storefront, including wall surfaces, structural integrity, electrical infrastructure, and potential mounting locations. The International Sign Association’s online learning resources recommend evaluating factors such as visibility, accessibility, and potential obstructions.
Key technical considerations include:
- Structural Compatibility: Assess wall material (brick, render, glass) and determine appropriate mounting hardware
- Electrical Requirements: Verify power sources for illuminated signs
- Environmental Factors: Consider weather exposure, wind loads, and potential maintenance challenges
Professional Installation Versus DIY
While some business owners might contemplate a do-it-yourself approach, professional installation offers significant advantages. Experienced technicians understand complex mounting techniques, safety protocols, and can navigate potential challenges efficiently. Learn more about professional sign installation techniques.
Professional installers bring specialized equipment, technical expertise, and an understanding of building codes that most business owners lack. They can also provide warranties and ensure that your sign meets all regulatory standards, potentially saving considerable time and potential future repair costs.
To help you compare your options, here is a table outlining the key differences between professional and DIY shop sign installation as described in this guide:
| Installation Method | Equipment & Tools | Expertise & Compliance | Advantages | Potential Risks |
|---|---|---|---|---|
| Professional Installation | Specialised and high-quality tools | Skilled technicians, understands codes | Warranties, meets regulations, saves time | Higher upfront cost |
| DIY Installation | Standard or consumer-grade tools | Limited experience with regulations | May reduce short-term expenditure | Installation errors, legal noncompliance, safety concerns |
Planning your shop sign installation is not merely about aesthetic choices but involves a comprehensive approach encompassing legal compliance, technical preparation, and strategic decision-making. By investing time in thorough preparation, businesses can create impactful signage that effectively communicates their brand while avoiding potential installation pitfalls.
Choosing the Right Tools and Materials
Successful shop sign installation demands precise selection of tools and materials. Professional installers understand that the right equipment can transform a challenging project into a seamless execution, ensuring durability, safety, and aesthetic excellence.
Essential Installation Tools
According to Mitmunk’s guide to sign installation best practices, conducting a comprehensive site survey is crucial before gathering installation tools. The fundamental toolkit for shop sign installation should include:
- Measuring Equipment: Professional laser distance measurers and high-quality spirit levels guarantee precise positioning
- Drilling Tools: Industrial-grade rotary hammers and drill bits compatible with various surface materials
- Mounting Hardware: Stainless steel anchors, expansion bolts, and specialised fixings appropriate for different wall substrates
- Safety Equipment: Hard hats, safety glasses, harnesses for elevated installations, and robust work gloves
Professional installers invest in high-quality tools that provide accuracy and reliability. Cheap, low-grade equipment can compromise installation quality and potentially damage expensive signage.
Material Selection Considerations
Choosing appropriate materials involves understanding substrate compatibility, environmental conditions, and aesthetic requirements. Different mounting surfaces demand specific approaches:
- Brick Walls: Require masonry drill bits and expanding anchor systems
- Render Surfaces: Need specialized fixings that distribute weight evenly
- Glass Facades: Demand precision mounting brackets and chemical anchoring solutions
Material durability is paramount. Consider weather resistance, UV stability, and long-term performance. Corrosion-resistant materials like stainless steel, aluminium, and marine-grade fixings provide superior longevity in challenging environmental conditions.
Professional versus Consumer Grade Materials
While DIY enthusiasts might be tempted to use consumer-grade materials, professional installations require superior components. Discover professional sign installation techniques that emphasize the importance of high-quality materials.
Professional-grade materials offer significant advantages:
- Enhanced structural integrity
- Better resistance to environmental stress
- Longer operational lifespan
- Compliance with industry safety standards
Investing in premium tools and materials is not an unnecessary expense but a critical strategy for creating robust, long-lasting shop signage. Professionals understand that initial investment in quality equipment pays dividends through reduced maintenance costs and superior installation outcomes.
Careful tool and material selection transforms sign installation from a potentially complex task into a precise, professional process. By prioritizing quality, compatibility, and technical expertise, businesses can ensure their shop signs make a powerful, lasting impression.
Step-by-Step Shop Sign Mounting Process
The shop sign mounting process requires precision, technical expertise, and a systematic approach. Professional installation transforms your signage from a mere functional element to a powerful brand communication tool.
Preliminary Marking and Alignment
Before drilling a single hole, meticulous preparation is crucial. According to the International Sign Association’s professional training resources, precise initial marking determines the entire installation’s success.
Key preliminary steps include:
- Accurate Measurement: Use laser levels and measuring tapes to ensure perfect horizontal and vertical alignment
- Template Creation: Develop a precise mounting template matching exact sign dimensions
- Surface Evaluation: Assess wall substrate for potential mounting challenges
Professional installers typically create a detailed marking scheme, using temporary guidelines that can be easily removed without damaging the surface. This approach minimizes errors and ensures consistent positioning.
Mounting Techniques for Different Surfaces
Each mounting surface demands a unique approach. Brick, render, glass, and metal surfaces require specialized techniques to guarantee secure and aesthetically pleasing sign installation.
Brick Walls: Utilise masonry drill bits and expansion anchors designed for load-bearing surfaces. Drill pilot holes at marked locations, ensuring a perpendicular angle to prevent structural weakening.
Render Surfaces: Apply chemical anchoring systems that distribute weight evenly. Use specialized fixings that provide robust support without compromising the render’s integrity.
Glass Facades: Implement precision bracket systems with chemical anchoring solutions. These methods provide secure mounting while maintaining the architectural aesthetics of glass surfaces.
Final Positioning and Safety Checks
Explore professional sign installation techniques that emphasize the importance of final positioning and comprehensive safety verification.
Critical final stage considerations include:
- Structural Integrity: Confirm all mounting points can withstand anticipated environmental stresses
- Electrical Safety: For illuminated signs, verify proper electrical connections and earthing
- Visual Alignment: Step back and confirm the sign’s aesthetic positioning from multiple viewing angles
- Load Testing: Gently test mounting points to ensure complete secure attachment
Professional installers conduct multiple checks throughout the process, understanding that seemingly minor details can significantly impact long-term sign performance and safety.
The main steps involved in shop sign mounting can be summarised in the following process table for quick reference:
| Step | Description |
|---|---|
| Accurate Measurement | Use laser levels/measuring tapes to ensure precise alignment |
| Template Creation | Develop mounting template matching exact sign dimensions |
| Surface Evaluation | Assess wall substrate for any challenges |
| Surface-Specific Mounting | Use correct hardware/fixings for brick, render, or glass as appropriate |
| Final Alignment & Safety Checks | Inspect structural integrity, check electrical connections (if illuminated), and confirm positioning |
| Load Testing | Gently test mounting points for secure attachment |
The shop sign mounting process is a blend of technical skill, careful planning, and artistic precision. By following a systematic approach and prioritizing both functional and aesthetic considerations, businesses can create signage that not only communicates their brand effectively but also stands as a testament to professional craftsmanship.
Common Mistakes and Expert Tips for Shop Owners
Navigating the complexities of shop sign installation requires more than technical skill. Shop owners must understand potential pitfalls and strategic considerations that can dramatically impact their signage effectiveness.
Design and Visibility Challenges
According to Phase 3 Marketing and Communications, lighting plays a critical role in sign visibility. Many business owners underestimate the importance of appropriate illumination techniques. Common mistakes include:
- Inadequate Lighting: Failing to use strategic backlighting or LED illumination
- Poor Contrast: Selecting colour schemes that reduce readability
- Overcomplicated Designs: Creating signs with too much visual information
Professional designers recommend maintaining simplicity and ensuring high contrast between text and background. A sign should communicate your brand message within seconds of viewer engagement.
Material Durability and Environmental Considerations
Wensco Sign Supply emphasizes the critical importance of protecting signs from environmental degradation. Business owners frequently overlook material selection and weatherproofing requirements.
Key considerations include:
- UV Resistance: Using fade-resistant materials and inks
- Waterproofing: Selecting materials suitable for outdoor exposure
- Thermal Expansion: Understanding how different materials respond to temperature variations
Investing in high-quality, weather-resistant materials prevents frequent replacements and maintains professional appearance.
Professional Insights and Strategic Approach
Discover common signage design misconceptions that could potentially undermine your business branding. Experienced professionals recommend several strategic approaches:
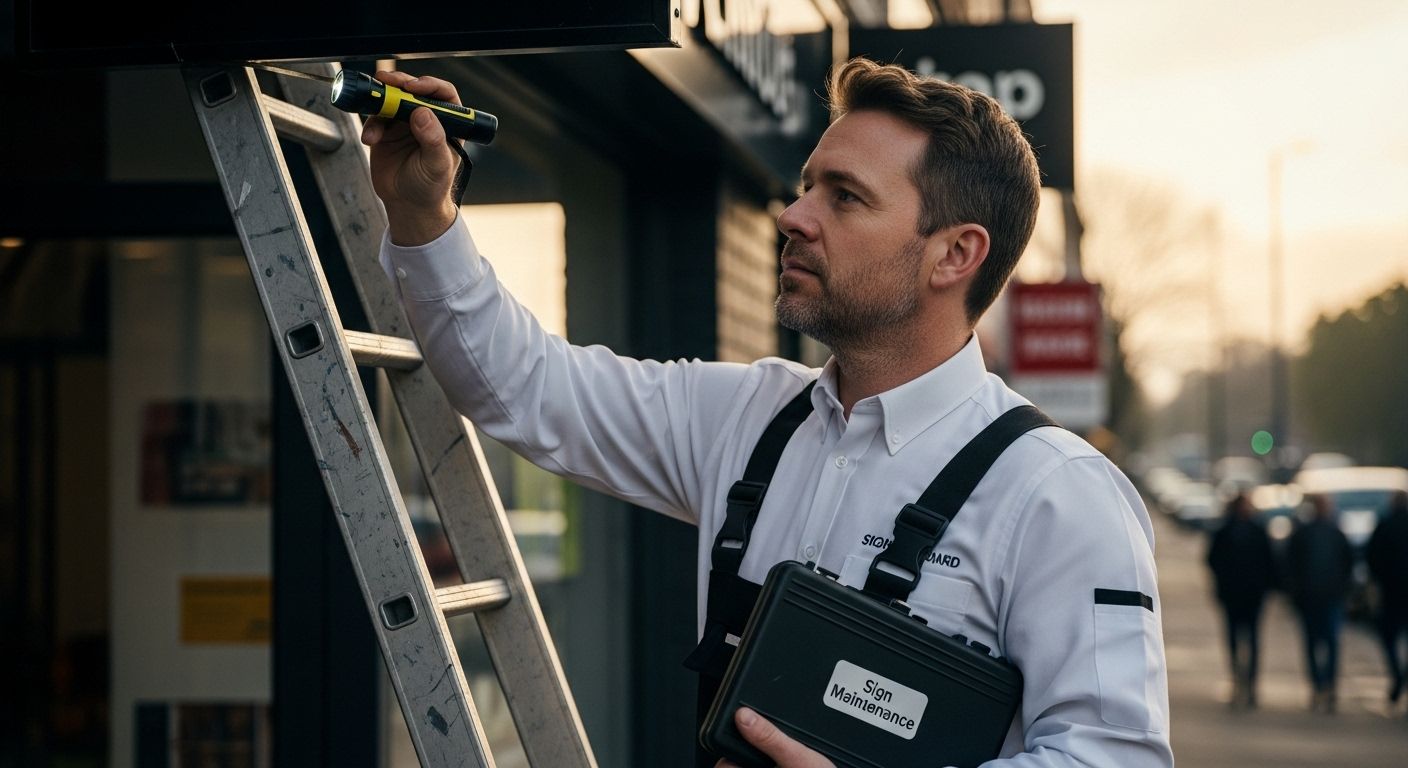
- Regularly inspect and maintain signage
- Budget for periodic professional assessments
- Consider modular design for easier updates
- Understand local regulations and potential restrictions
- Align sign design with overall brand identity
Successful shop signage is not merely about aesthetic appeal but represents a strategic communication tool. By avoiding common mistakes and adopting a thoughtful, professional approach, shop owners can create signage that effectively attracts customers and reinforces brand perception.
Remember that your sign is often the first point of interaction between your business and potential customers. Investing time, resources, and careful consideration into its design and installation can yield significant long-term marketing benefits.
Frequently Asked Questions
What are the most common mistakes in shop sign installation?
Many common mistakes in shop sign installation include inadequate lighting, poor contrast between text and background, and overly complicated designs that confuse viewers. Ensuring simplicity and focusing on high contrast can enhance visibility and effectiveness.
What tools are essential for installing shop signs?
Essential tools for shop sign installation include measuring equipment (laser distance measurers and spirit levels), drilling tools (rotary hammers), mounting hardware (anchors and bolts specific to wall materials), and safety equipment (hard hats, safety glasses, and gloves).
Why is it important to understand local signage regulations before installation?
Comprehending local signage regulations is crucial as failure to comply can lead to legal issues and fines. Guidelines can affect your sign’s design, size, placement, and illumination, making it important to research and adhere to local rules.
Should I hire a professional for shop sign installation or do it myself?
While a DIY approach may seem cost-effective, hiring a professional can ensure proper installation, adherence to regulations, and the use of appropriate techniques. Professionals bring expertise and equipment that reduce the risk of errors and safety issues.
Take Your Shop Sign Installation Further with Trusted Experts
You have learned just how crucial expert installation is for ensuring your signage stands the test of time. Many business owners face problems like complicated local regulations, unpredictable weather, or the risk of costly mistakes if installation goes wrong. The guide highlights how most issues arise during mounting, and using the wrong materials or neglecting safety checks can easily lead to disappointing results. If you want your shop to stand out in London, Essex, or Kent and be fully compliant, professional support makes all the difference.
Why risk installation errors or waste time dealing with complex guidelines on your own? Partner with experienced professionals who understand precise installation, permit rules, and the best weatherproof materials. Visit PromoSigns today to see how our team designs, produces, and expertly installs signs that boost your brand and attract customers. Take control of your business image now—reach out for a free consultation and transform your shopfront with quality signage that lasts.
Recommended
- How to Install Your Shop Front Sign Like a Pro – PromoSigns.co.uk
- A Step-by-Step Guide to Professional Commercial Sign Installation – PromoSigns.co.uk
- How to Design Shop Signs: Expert Tips for 2025 – PromoSigns.co.uk
- Types of Shop Signs for London Businesses: The 2025 Guide – PromoSigns.co.uk
